


Personalise gifts with sublimation: a step-by-step guide
Choosing a personalised gift should feel exciting, not frustrating. Yet too many crafters and small business owners in the UK and Ireland know the disappointment of peeling vinyl, faded iron-on transfers, or blurry prints that look nothing like the original design. Sublimation printing changes all of that. It bonds colour directly into the substrate at a molecular level, producing results that are vibrant, permanent, and genuinely impressive. This guide walks you through exactly what sublimation is, what you need to get started, the full process from design to finished product, how to troubleshoot common problems, and how to turn your creations into a thriving small business.
Table of Contents
- What is sublimation and why it works for personalised gifts
- Essential tools and materials for sublimation projects
- How to personalise gifts with sublimation: step-by-step process
- Troubleshooting and common mistakes to avoid
- Showcasing your personalised creations: from gifts to business
- Why most crafters underestimate the real benefits of sublimation
- Ready to craft your next personalised gift with confidence?
- Frequently asked questions
Key Takeaways
| Point | Details |
|---|---|
| Choose the right blanks | Use polyester or polymer-coated items for the best sublimation results. |
| Follow the process closely | Each step, from design mirroring to cooling, influences the final quality. |
| Avoid common mistakes | Proper alignment and heat press use prevent most beginner errors. |
| Scale up with creativity | Success depends more on your imagination and product selection than just tools. |
What is sublimation and why it works for personalised gifts
Sublimation is a process where heat and pressure convert solid ink into gas, which then bonds permanently with a compatible substrate. There is no layer sitting on top of the surface. The colour becomes part of the material itself, which is why it resists peeling, cracking, and fading in a way that vinyl or iron-on transfers simply cannot match. As sublimation printing basics explains, the process uses special sublimation inks printed onto transfer paper, then a heat press converts the solid ink to gas, bonding with polyester or polymer-coated substrates like mugs, t-shirts, and coasters to create vibrant, durable, permanent prints ideal for personalised gifts.
The key limitation is material compatibility. Sublimation only works on polyester fabrics or items with a polymer coating. That means a 100% cotton t-shirt will give you a washed-out, ghostly result, while a 100% polyester equivalent will look stunning. The same rule applies to hard goods: a plain ceramic mug needs a polymer coating to accept the ink properly.
Here is how sublimation compares to the methods you might already be using:
| Method | Durability | Colour vibrancy | Material range | Setup cost |
|---|---|---|---|---|
| Sublimation | Excellent | Outstanding | Poly/coated only | Medium |
| Vinyl/HTV | Good | Good | Wide | Low |
| DTF | Very good | Very good | Wide | High |
| DTG | Good | Good | Cotton-focused | Very high |
For personalised gifts, sublimation wins on vibrancy and longevity. The colour retention benefits are particularly noticeable on photo gifts, where skin tones and gradients reproduce with remarkable accuracy. If you are still deciding which blank products suit your niche, choosing blank products is a useful starting point.
Worth knowing: Sublimation is fast and scalable for small runs, but it is not a universal solution. Always confirm your blank is polyester or polymer-coated before pressing.
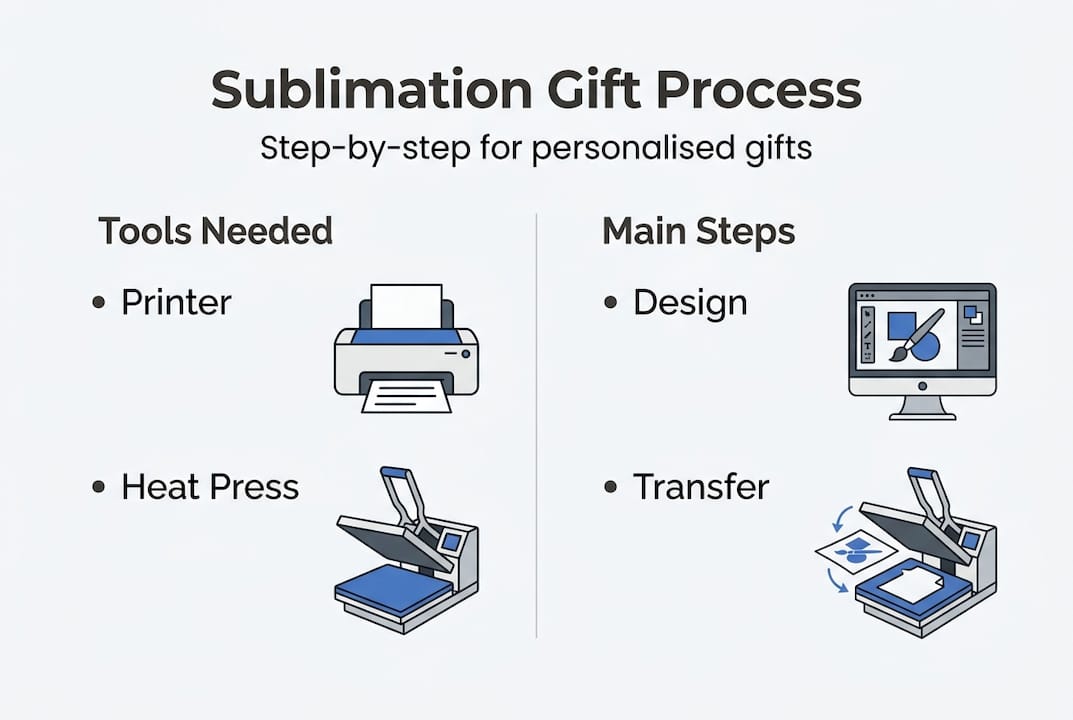
Essential tools and materials for sublimation projects
Getting the right equipment from the start saves you wasted blanks, wasted time, and a lot of frustration. As beginner’s guide confirms, sublimation requires special inks, a compatible printer, transfer paper, a heat press, and polyester or polymer-coated blanks. Each element matters.
Here is a quick-reference table of what you need and why:
| Item | Purpose | Notes |
|---|---|---|
| Sublimation printer | Prints design with sublimation inks | Dedicated printer recommended |
| Sublimation inks | Bond with substrate under heat | Do not mix with standard inks |
| Sublimation transfer paper | Carries the design to the blank | Weight and coating affect results |
| Heat press | Applies even heat and pressure | Flat, mug, or multi-function |
| Sublimation blanks | The item being personalised | Must be poly or polymer-coated |
Popular blank choices for personalised gifts include mugs, coasters, keyrings, phone cases, cushion covers, and MDF items. The range of sublimation blank types available today is genuinely impressive, covering everything from drinkware to jewellery. If you are curious about wood-effect products, the MDF blank guide covers the specifics of working with those substrates.
For hobby crafters, a basic flatbed heat press and an entry-level converted printer will get you started. For small business owners producing regular orders, investing in a quality press with digital temperature control pays for itself quickly in consistent results and fewer ruined blanks. The beginner tips section on our site covers this in more detail.
Pro Tip: Never use a domestic iron as a substitute for a heat press. Irons apply uneven pressure and inconsistent temperature, which leads to patchy colour, ghosting, and wasted blanks. Even a budget heat press outperforms an iron every single time.
How to personalise gifts with sublimation: step-by-step process
With your equipment ready, here is the full process from blank canvas to finished gift. Following these steps carefully will give you professional-quality results from your very first press.
- Design your artwork. Use design software such as Adobe Illustrator, Canva, or CorelDRAW. Set your resolution to 300 DPI or higher for sharp results. Critically, mirror your design before printing. If you forget this step, any text will be reversed on the finished item.
- Print onto sublimation paper. Load your sublimation paper correctly (print side up) and use the highest quality print setting. Allow the print to dry for a minute before handling to avoid smearing.
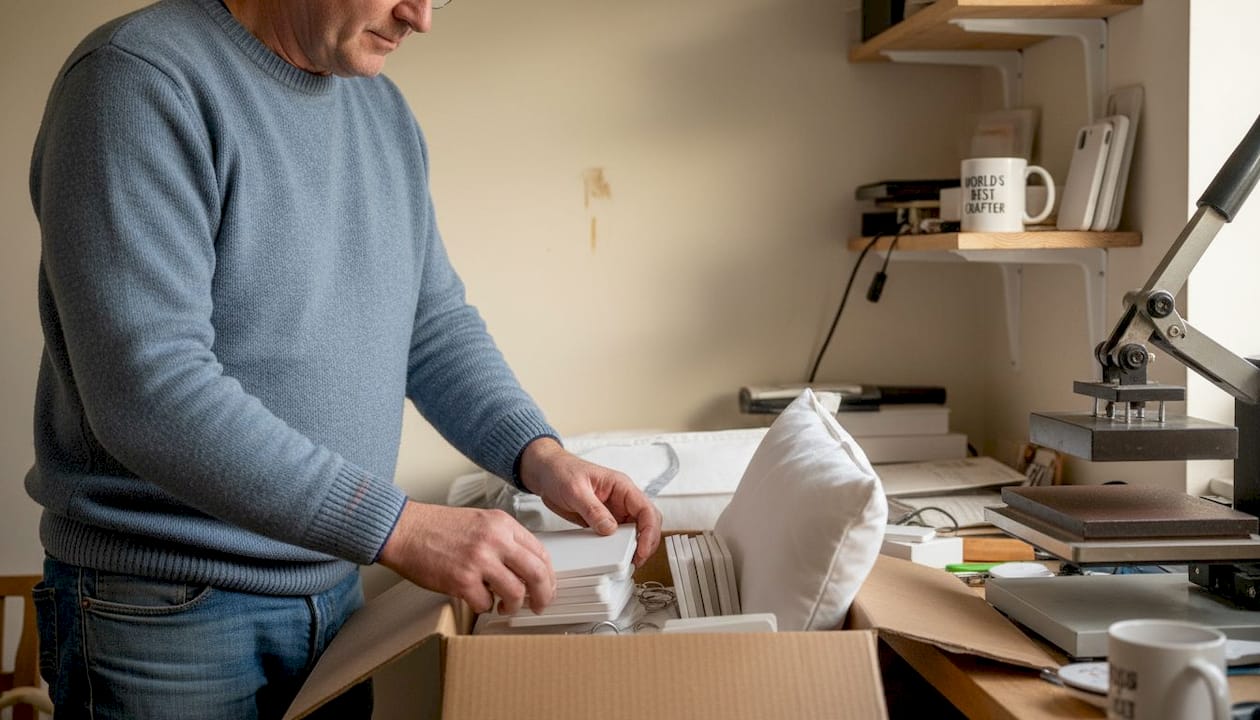
- Prepare your blank. Wipe the blank clean with a lint-free cloth. Any dust or moisture trapped under the transfer paper will show up as a blemish on the finished product. A quick step-by-step example shows how even small prep steps make a visible difference.
- Pre-press the blank. Place the blank in the heat press for five to ten seconds with no paper. This removes residual moisture and warms the substrate, helping the ink bond more evenly.
- Secure the transfer paper. Align your printed design carefully on the blank and tape it down with heat-resistant tape on all edges. Movement during pressing causes ghosting, which ruins the print.
- Press at the correct settings. Temperature, time, and pressure all vary by substrate. A standard polyester t-shirt typically presses at around 190°C for 45 to 60 seconds at medium pressure. Mugs require a mug press with specific settings. Always check the blank manufacturer’s recommendations. Refer to the transfer process guide for substrate-specific settings.
For more ideas on applying this process to merchandise, the using blanks for merchandise guide is worth bookmarking.
Safety note: Heat presses operate at temperatures that can cause serious burns. Always use heat-resistant gloves when handling blanks immediately after pressing, and keep the press out of reach of children.
Pro Tip: Once the press opens, peel the transfer paper back in one smooth, confident motion while the blank is still warm. Hesitating or peeling slowly increases the risk of ghosting.
Troubleshooting and common mistakes to avoid
Even experienced crafters hit snags. The good news is that most sublimation problems have straightforward causes and fixes. As noted in troubleshooting advice, sublimation delivers vibrant, durable results but white creasing on seams and blurry prints are real risks when materials or press setup are incorrect.
Here are the most common issues and how to fix them:
- Ghosting: Caused by the transfer paper shifting during or after pressing. Fix: use more heat-resistant tape and peel paper immediately after pressing.
- Blurry or double images: Usually caused by paper movement during pressing. Fix: secure paper more firmly and ensure the blank sits flat in the press.
- Faded or washed-out colour: Often means the blank is not polyester or polymer-coated, or the temperature was too low. Fix: verify blank compatibility and check press calibration.
- White patches or creases: Common on garments near seams or folds. Fix: use a pressing pillow to raise the print area above seams.
- Uneven colour: Typically caused by inconsistent pressure. Fix: adjust the press pressure settings and check that the platen is level.
- Ink bleed: Caused by excess moisture in the blank. Fix: always pre-press to drive out moisture before applying the transfer.
Substrate compatibility errors are the single biggest source of wasted materials for beginners. Always test a new blank type before committing to a full production run. The sublimation tips page covers compatibility checks in detail. If you are scaling up, the business gear checklist helps you identify when it is time to upgrade equipment.
Pro Tip: Keep a small notebook or digital log of your press settings for each blank type. When something goes wrong, you can trace back exactly what changed and fix it faster next time.
Showcasing your personalised creations: from gifts to business
A beautifully pressed mug or personalised coaster deserves to be seen. Whether you are gifting or selling, presentation and visibility matter as much as the quality of the print itself. As growing your craft business highlights, sublimation is ideal for crafters and small businesses seeking unique, durable, and professional results on a diverse array of products when materials are chosen wisely.
Here are practical ways to showcase and grow your sublimation work:
- Photography: Use natural light and a clean background. A white or grey surface lets the product’s colours pop. Photograph from multiple angles and include lifestyle shots showing the item in use.
- Social media: Instagram and Pinterest are particularly strong for visual craft products. Post consistently, use relevant hashtags, and show behind-the-scenes process shots. People love watching the peel reveal.
- Etsy and local markets: Personalised gifts sell extremely well on Etsy. Local craft fairs and markets let customers touch and feel the quality, which often converts browsers into buyers faster than online listings alone.
- Gift bundles: Pair complementary items, such as a personalised mug with a matching coaster, to increase average order value and create a more giftable product.
- Corporate orders: Businesses regularly need branded merchandise, staff gifts, and event giveaways. Sublimation’s fast turnaround makes it well-suited to small batch corporate orders.
The business success with blanks guide explores how to position your sublimation range for growth, from pricing strategy to product selection.
Why most crafters underestimate the real benefits of sublimation
Here is something we see regularly: crafters spend weeks researching sublimation, get put off by the upfront equipment cost, and go back to vinyl. Then, six months later, they switch anyway after a customer complains about a peeling transfer. The irony is that sublimation’s total cost per item is often lower than vinyl once you factor in time, materials, and reprints.
The fixation on setup cost misses the bigger picture. Sublimation produces results that genuinely surprise people. The feel of a sublimated product is different. There is no raised edge, no texture, just smooth, vivid colour that looks like it grew there. For gifting, that tactile quality matters enormously. Recipients notice it, and they remember it.
The real ceiling in sublimation is not the technology. It is imagination. Crafters who experiment with new sublimation blank essentials consistently discover niches that competitors have not touched yet. The blank range is vast, and most people only ever use a fraction of it. That is where the business opportunity lives.
Ready to craft your next personalised gift with confidence?
You now have everything you need to move from curious beginner to confident sublimation crafter. The process is straightforward, the results are genuinely professional, and the range of products you can personalise is wider than most people realise.

At Subliblanks, we supply everything you need with no minimum order quantities, so you can experiment freely without committing to bulk stock. Browse our round MDF name badge for a brilliant entry-level project, stock up on our sublimation paper pack for consistent transfer quality, and explore the full range of UK sublimation supplies to find your next favourite blank. Professional results start with the right materials, and we have got them ready for you.
Frequently asked questions
Can I sublimate on any type of fabric or material?
No, sublimation only bonds well with polyester or polymer-coated substrates. Cotton and uncoated surfaces will not yield true, vibrant results.
What’s the most common mistake beginners make with sublimation?
Improper alignment or insufficient pressure during pressing is the most frequent culprit, leading to blurry prints and white creasing that ruin the finished item.
Is a heat press necessary, or can I use an iron?
A heat press is strongly recommended because it delivers superior consistency in both temperature and pressure. Irons rarely produce professional results and often cause patchy colour.
How do I prevent ghosting and blurry images in my sublimation projects?
Secure the transfer paper firmly with heat-resistant tape, pre-press to remove moisture, and peel paper immediately after pressing while the blank is still warm.
Can sublimation be used for small batch or one-off personalised gifts?
Yes, sublimation is perfectly suited to short runs and one-off items, offering fast turnaround and low cost per item, which makes it ideal for personalised gifting.


