


Sublimation Printing Step by Step for Personalised Goods
Finding the perfect combination of printer, inks, paper, and blanks can feel confusing when you first venture into sublimation printing. For many small business owners and hobbyists across the United Kingdom and Ireland, the difference between vibrant, long-lasting results and disappointing, costly missteps often comes down to smart equipment choices. This guide breaks down how to select the right sublimation equipment and materials so you get professional-quality personalised products from day one.
Table of Contents
- Step 1: Select Suitable Sublimation Equipment and Materials
- Step 2: Prepare Artwork and Print Sublimation Transfer
- Step 3: Position and Secure Transfer on Sublimation Blank
- Step 4: Press and Transfer Design onto Product
- Step 5: Check and Finish the Sublimated Item
Quick Summary
| Key Point | Explanation |
|---|---|
| 1. Choose proper sublimation equipment | Use a dedicated sublimation printer, quality inks, and specialized transfer papers for successful printing. |
| 2. Prepare high-quality artwork | Design at a minimum of 300 DPI, mirror the image, and ensure vibrant colours for a sharp final product. |
| 3. Secure transfer accurately | Measure and tape the transfer to avoid misalignment during pressing, ensuring a clean design transfer. |
| 4. Control pressing parameters precisely | Use accurate temperature, pressure, and dwell time according to blank type to achieve vivid, long-lasting designs. |
| 5. Inspect finished items thoroughly | Check for colour uniformity and sharpness, and allow items to cool before final handling to maintain quality. |
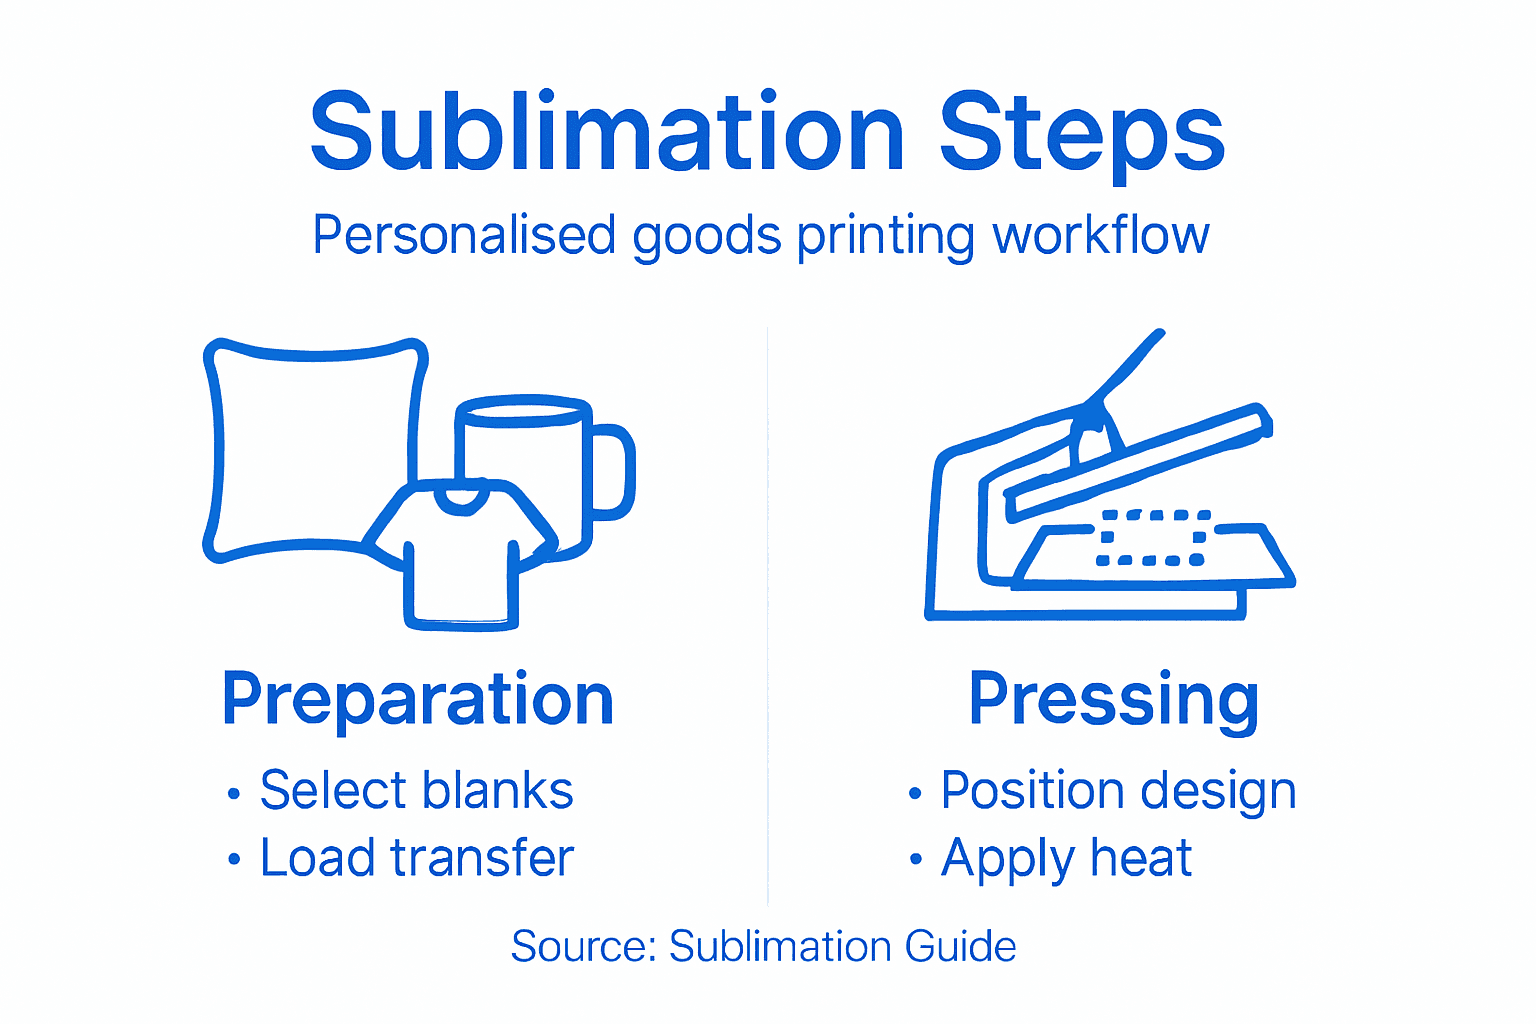
Step 1: Select Suitable Sublimation Equipment and Materials
Choosing the right equipment and materials forms the foundation of your sublimation printing success. Get this wrong, and you’ll waste time, money, and materials on subpar results. Get it right, and you’ll produce professional-quality personalised goods that customers love.
Start by identifying your sublimation printer. You need a dedicated sublimation printer or one specially converted for sublimation inks, not a standard inkjet printer filled with sublimation ink. The printer must accept sublimation ink cartridges and produce consistent, vibrant output. Consider factors like print speed, colour accuracy, and the maximum size you plan to print.
Your choice of sublimation inks and transfer papers matters enormously. High-quality sublimation inks produce vibrant, fade-resistant colours. Transfer papers must be specifically designed for sublimation, as they release dyes properly when heated. Never substitute regular inkjet paper—it simply won’t work.
Next, think about your blank substrates. Sublimation works best on polyester fabrics, polymer-coated hard goods (like mugs and phone cases), and specially treated materials. Choose blanks suited to your target products:
- Polyester t-shirts, hoodies, and fabric items
- Ceramic mugs and personalised drinkware
- Hard-coated cases for phones and tablets
- Wooden or MDF plaques with polymer coating
- Mouse mats and personalised cushions
You’ll also need a heat press machine. This applies heat and pressure to transfer the sublimated design from the transfer paper onto your blank. Heat presses range from small clamshell models for small items to large swing-arm machines for larger projects. Temperature control and even heat distribution are crucial for consistent results.
Consider researching 7 essential examples of sublimation equipment for start-ups to see what successful businesses are using. This gives you real-world context for what actually works in practice.
Budget wisely. As a small business owner or hobbyist, you don’t need the most expensive equipment to start. A mid-range sublimation printer, decent heat press, and quality inks and papers will serve you well. Many successful operations started with modest setups and upgraded as demand grew.
Here’s a concise comparison of key sublimation equipment types and how each affects product quality:
| Equipment Type | Main Function | Business Impact | Typical Use |
|---|---|---|---|
| Sublimation printer | Prints designs with specialised inks | Ensures vibrant, accurate output | Apparel, hard goods |
| Heat press | Transfers designs via heat and pressure | Achieves permanent, fade-resistant prints | Mugs, t-shirts, plaques |
| Sublimation ink | Provides vivid, colourfast pigmentation | Directly influences print longevity | All printable substrates |
| Transfer paper | Carries mirrored artwork for pressing | Allows clean, precise transfers | Mugs, fabrics, cases |
| Tape (heat-resistant) | Holds transfer in place during pressing | Prevents design misalignment and blurring | All items |
Quality materials directly influence your final product quality and customer satisfaction—cutting corners here damages your reputation far more than equipment costs ever would.
Pro tip: Start with one type of blank product you’re genuinely excited about (say, personalised mugs or t-shirts) rather than trying to offer everything at once. Master that product first, build your skills and customer base, then expand to other blanks.
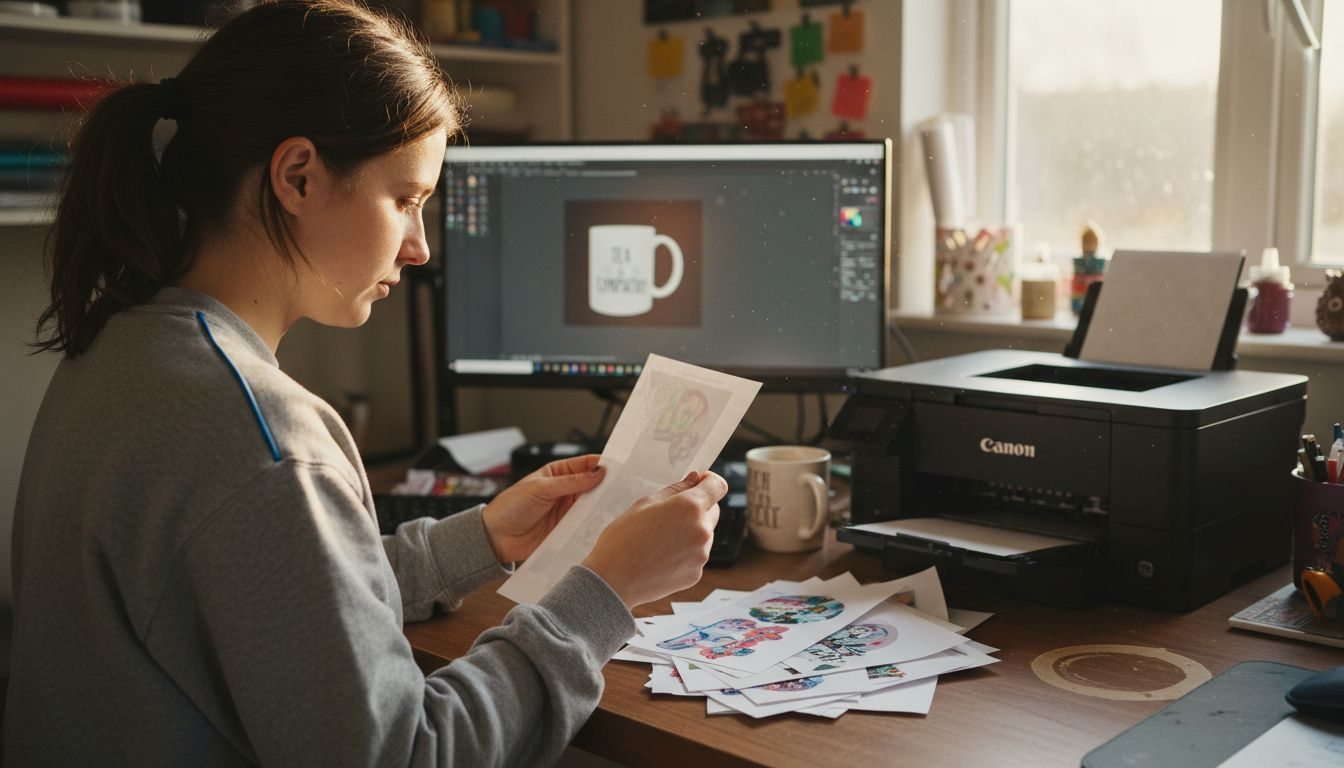
Step 2: Prepare Artwork and Print Sublimation Transfer
Your artwork quality determines the quality of your final product. Poor artwork leads to fuzzy, washed-out prints. Quality artwork produces vibrant, crisp designs that customers will treasure.
Start by choosing design software that supports high-resolution output. Adobe Photoshop and Illustrator are industry standards, though GIMP (free) and Canva work for simpler designs. Create your design at 300 DPI minimum to ensure sharpness when printed.
Here’s a critical step many beginners miss: you must mirror your image horizontally before printing. Sublimation transfers work backwards—the design prints reversed onto the transfer paper, then flips back to normal when pressed onto your blank. Forget to mirror, and your final product will be reversed. Double-check this every single time.
When preparing your artwork, consider these essentials:
- Design at the actual size you need (measure your blank first)
- Use vibrant colours; they’ll appear slightly muted after heat transfer
- Leave small margins around edges to avoid edge fade
- Check that text is readable when mirrored
- Ensure artwork has no transparency if using dark blanks
Next, configure your printer settings correctly. Load sublimation transfer paper into your sublimation printer—never use regular paper. Adjust print settings for sublimation mode if your printer offers it. Select the highest quality setting available; speed matters less than print accuracy.
Before printing your final design, run a test print on scrap transfer paper. Check colour accuracy, sharpness, and that mirroring worked correctly. This simple step prevents wasting premium transfer paper and blanks on mistakes.
Once satisfied with your test, print your design at full production quality. The sublimation transfer process requires precision at every stage, so take your time with printing.
Mirrored images are the number-one mistake beginners make—it’s worth triple-checking before you commit expensive transfer paper and blanks to the heat press.
Pro tip: Create a template file with your mirror settings saved as a preset in your design software, so you never accidentally forget to mirror again.
Step 3: Position and Secure Transfer on Sublimation Blank
Precise positioning makes the difference between professional results and wasted blanks. A transfer that shifts during pressing produces blurry edges, misaligned designs, and unhappy customers. Get this step right, and your designs transfer perfectly every time.
Start by measuring and marking where your design should sit on the blank. Use a ruler or measuring tape to find the centre point or desired location. Light pencil marks work well for fabric; a dry-erase marker suits hard goods. Take your time here—thirty seconds of measurement prevents thirty minutes of disappointment.
Place your printed transfer paper face-down onto the blank, aligning it carefully with your marks. The printed side must contact the blank directly. For fabric items, ensure the transfer sits flat without wrinkles or folds.
Now comes the critical part: securing the transfer so it doesn’t shift during pressing. Heat-resistant tape is essential for this purpose. Use painters’ tape or sublimation-specific tape around the edges to hold the transfer firmly in place.
When taping, follow these guidelines:
- Tape all four edges of the transfer paper
- Apply tape to the back of the transfer paper, not the blank
- Use enough tape to prevent movement, but not so much it covers your design area
- Press tape down firmly so it doesn’t peel during pressing
- Leave the top edge slightly loose if you’ll be lifting to check alignment before full pressing
Verify that the transfer placement remains stable4_web_2413.pdf) before moving to your heat press. Gently try to shift the transfer slightly—it should not budge. If it moves, reposition and retape.
Once secured, your blank is ready for the heat press. The firm positioning ensures even pressure distribution across your design, which means vibrant, accurate colour transfer.
Loose transfers shift during pressing, creating blurry edges and wasted materials—secure positioning is the foundation of quality results.
Pro tip: Keep a low-tack removable tape specifically for sublimation work separate from your regular tape supply; this prevents accidentally using standard tape that leaves residue on your finished products.
Step 4: Press and Transfer Design onto Product
This is where the magic happens. Heat transforms the sublimation inks into gas, bonding them permanently with your blank’s fibres. Get the temperature, pressure, and time right, and your design becomes permanent and vibrant. Get it wrong, and your colours fade or won’t transfer at all.
Start by preheating your heat press to the correct temperature. Most sublimation work requires between 380 and 400 degrees Fahrenheit. Check your specific blank’s instructions, as some materials vary. Allow five to ten minutes for the heat press to reach full temperature—rushing this step causes uneven heat distribution.
Whilst your press heats, prepare your workspace. Have everything within arm’s reach: your secured blank, a timer or watch, and a heat-resistant surface for cooling. Once you start pressing, you won’t want to fumble around looking for supplies.
When the press reaches temperature, position your blank carefully on the lower platen. Close the upper platen down firmly, applying steady, even pressure. Temperature, pressure, and dwell time work together to achieve optimal colour transfer.
Key pressing parameters:
- Temperature: 380-400°F depending on material
- Pressure: firm and even across the entire blank
- Dwell time: 45-60 seconds for fabric, 30-45 seconds for hard goods
- No shifting allowed during pressing
Set your timer and resist the urge to peek. Any movement or pressure loss during pressing creates blurry edges and colour inconsistency. Let the heat and pressure work undisturbed.
When your timer sounds, lift the press carefully and remove your blank. Correct pressing parameters ensure permanent, fade-resistant colours bond into your product. Place the hot blank on a heat-resistant surface to cool naturally—don’t rush this. Rapid cooling can cause the colours to set unevenly.
After two to three minutes, your transfer is complete. The design has permanently bonded with the blank’s fibres or polymer coating.
For quick reference, see these ideal pressing parameters for different sublimation blanks:
| Blank Type | Temperature (°F) | Dwell Time (sec) | Pressure |
|---|---|---|---|
| Polyester fabric | 400 | 45–60 | Firm, even |
| Ceramic mug | 400 | 30–45 | Moderate to firm |
| Polymer-coated wood | 380 | 40–60 | Firm |
| Hard phone case | 380 | 30–45 | Moderate |
| Mouse mat | 400 | 45–60 | Firm, uniform |
Inconsistent pressure or temperature causes streaky, faded, or incomplete transfers—precision here separates professional results from disappointing failures.
Pro tip: Keep a temperature and time log for each blank type you produce; this builds a reliable reference guide for perfect results every time you press.
Step 5: Check and Finish the Sublimated Item
Your sublimation is complete, but the work isn’t finished yet. This step separates products that impress customers from those that disappoint. You’ll inspect quality, cool properly, and add final touches that make your items ready to sell or gift.
Start by inspecting colour uniformity and sharpness. Look across the entire design for even colour saturation. Check that edges are crisp and defined, not blurry or faded. If you spot patchiness or colour inconsistency, this indicates pressing parameter issues to adjust on your next batch.
Post-press evaluation4_web_2413.pdf) includes checking ink adhesion by gently rubbing the design with your finger. The colours should feel permanently bonded, not sticky or transferable. If colours rub off, your temperature or dwell time was insufficient.
When checking quality, assess:
- Colour vibrancy and uniformity across the design
- Edge sharpness and definition
- Overall print clarity and detail
- Ink adhesion and permanence
- Any signs of patchiness or fading
Allows your item to cool completely before handling further. Patience here prevents distortion and ensures colours set properly. For fabric items, lay them flat on a clean surface. For hard goods like mugs, simply place them on a heat-resistant surface away from drafts.
Once cool (usually five to ten minutes), assess the final product. The colours should be vibrant and permanent. The design should match your original artwork in size, position, and clarity.
For finishing touches, remove any residual tape carefully. If your blank has rough edges (common with acrylic or wood), consider sanding lightly. Some business owners add protective coatings or packaging at this stage, depending on their product type and target market.
Quality control at this stage prevents unhappy customers and protects your reputation—every item leaving your workspace should meet your standards.
Pro tip: Create a simple checklist of quality criteria for each product type you offer; tick it off before each item ships, ensuring consistency and catching problems before customers receive them.
Master Your Sublimation Printing with Expert Equipment and Supplies
Struggling to achieve vibrant, professional-quality personalised goods? The article highlights common challenges like selecting the right sublimation printer, inks, heat press settings and securing your transfer perfectly. These crucial steps determine whether your designs stay sharp and colourfast or end up faded and misaligned. Don’t let inconsistent temperature, pressure or equipment hold back your creativity or damage your reputation.
At Subliblanks, we understand the frustrations of new and growing sublimation businesses because we provide a comprehensive range of high-quality sublimation blanks, printers and heat presses designed to deliver consistent results every time. We offer no minimum order quantities so you can start small and scale up confidently. Whether you want polyester fabric blanks, ceramic mugs or phone cases, our products support flawless heat transfer and vibrant colours.

Take the next step toward flawless sublimation printing with gear you can rely on and expert advice just a click away. Explore our full range of sublimation supplies including transfers, inks and heat presses at Subliblanks. Don’t let equipment uncertainty limit your potential it’s time to create products that truly impress. Visit Subliblanks now to find everything you need for professional personalised goods delivered fast and hassle-free.
Frequently Asked Questions
What type of sublimation printer do I need for personalised goods?
You need a dedicated sublimation printer or one that has been converted to use sublimation inks. Ensure the printer accepts sublimation ink cartridges and check for factors like print speed and colour accuracy before making a decision.
How do I prepare my artwork for sublimation printing?
Start by using design software that supports high-resolution output, setting your design at a minimum of 300 DPI. Remember to mirror your image horizontally before printing to ensure the design appears correctly once transferred.
What substrates are suitable for sublimation printing?
Sublimation works best on polyester fabrics and specially coated hard goods, such as ceramic mugs and polymer-treated items. Choose blanks that align with your desired finished products to achieve vibrant and lasting results.
How do I ensure proper transfer during sublimation?
To secure your transfer, use heat-resistant tape to hold the design in place before pressing. Make sure to tape down all four edges and verify that the transfer is stable to prevent any misalignment during the heat application process.
What are the ideal pressing parameters for different sublimation blanks?
Use temperatures between 380 and 400 degrees Fahrenheit, with dwell times of 45-60 seconds for fabric and 30-45 seconds for hard goods. Always apply firm, even pressure during pressing to ensure consistent, high-quality colour transfer.
How do I check the quality of my sublimated item after pressing?
Inspect your item for colour vibrancy and sharpness, ensuring edges are clean and well-defined. If the colours feel sticky or rub off easily, this may indicate issues with temperature or dwell time that you’ll need to adjust for future prints.


