


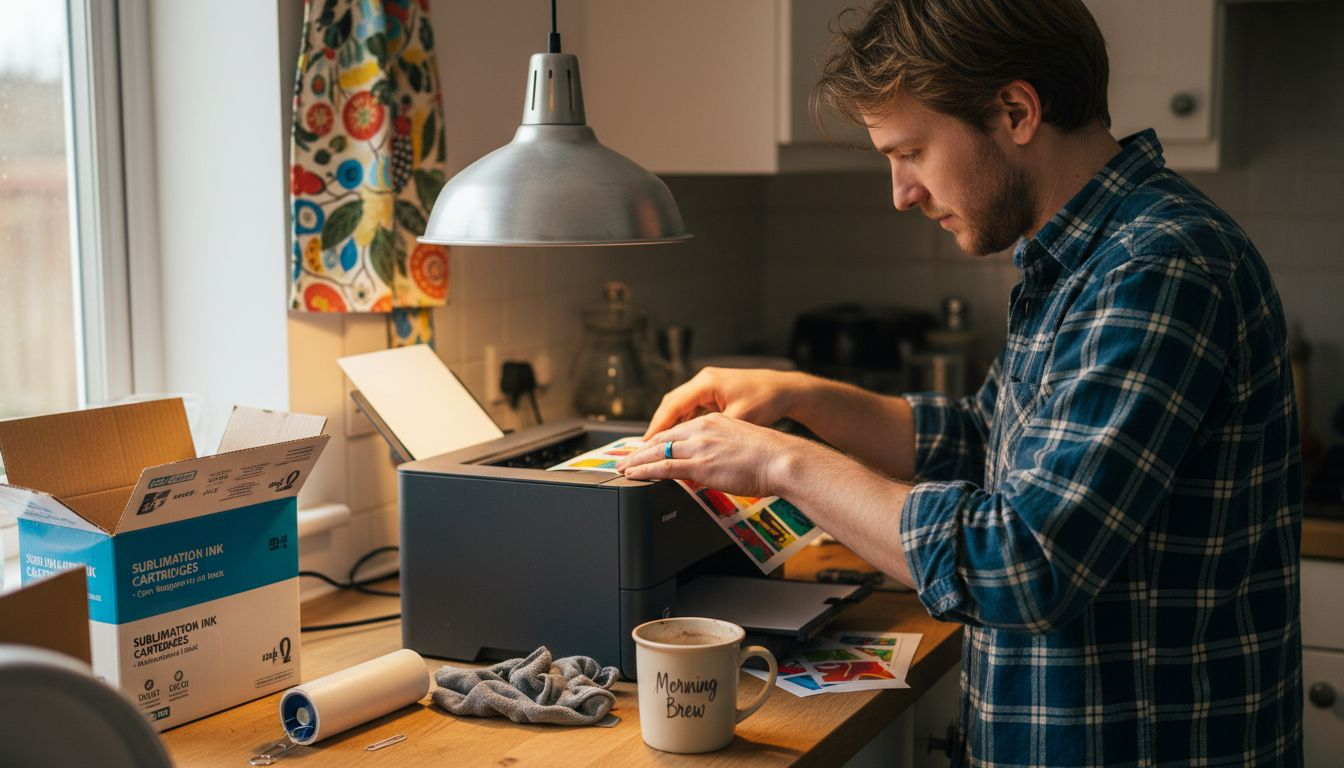
How to Use Sublimation Blanks for Custom Merchandise
Finding new ways to stand out in a crowded market often means looking for products that are both creative and practical. For small business owners and craft entrepreneurs across the United Kingdom, using sublimation blanks lets you offer unique, personalised merchandise your customers will not find anywhere else. By focusing on selecting the right sublimation materials and supplies, you set the stage for vibrant, high-quality results that can transform your product range and boost your reputation.
Table of Contents
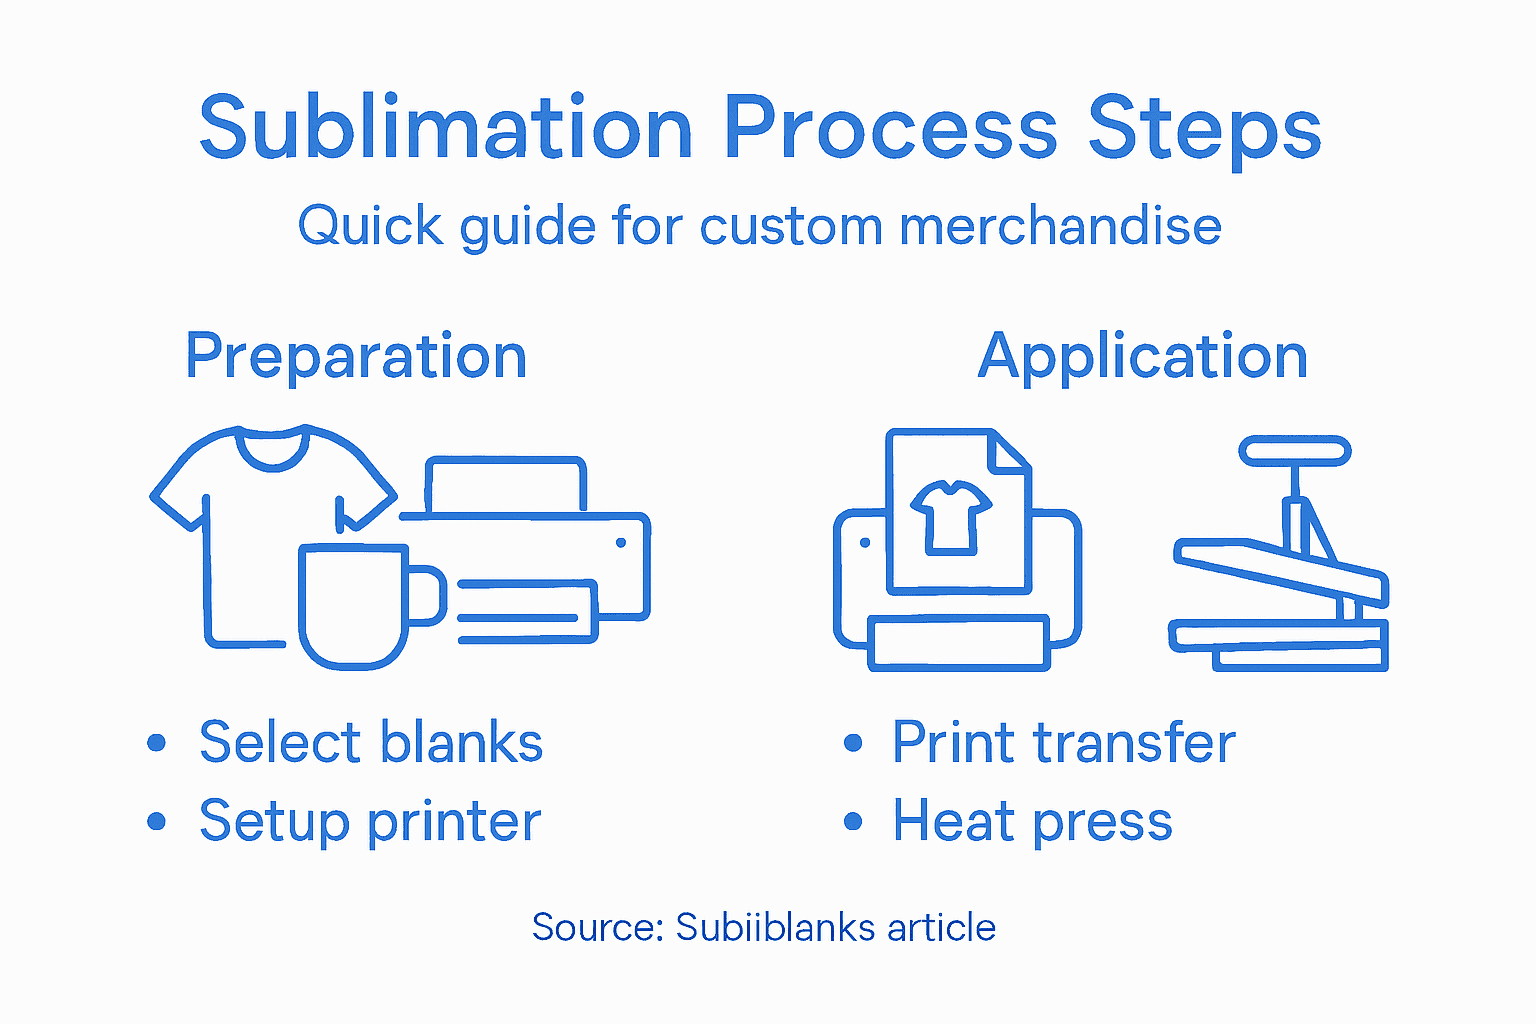
- Step 1: Select Suitable Sublimation Blanks And Supplies
- Step 2: Prepare Artwork And Printing Equipment
- Step 3: Print Designs Onto Sublimation Transfer Paper
- Step 4: Apply Designs To Blanks Using Heat Press
- Step 5: Inspect Finished Products For Quality Standards
Quick Summary
| Key Takeaway | Explanation |
|---|---|
| 1. Choose suitable sublimation blanks | Select polyester or polymer-coated items for optimal dye transfer and vibrant image reproduction. |
| 2. Prepare artwork meticulously | Create high-resolution designs with correct formats and ensure they are mirrored before printing. |
| 3. Use proper printing settings | Optimise printer settings for sublimation; ensure transfer paper is correctly positioned and dried. |
| 4. Apply heat accurately | Set precise heat press conditions and position substrates correctly to ensure successful transfers. |
| 5. Implement a quality inspection | Establish a structured process to evaluate products for colour integrity and image clarity, utilising sampling methods for efficiency. |
Step 1: Select suitable sublimation blanks and supplies
Customising merchandise through sublimation requires selecting the right materials and equipment to transform your creative vision into high-quality products. Your success depends on carefully choosing compatible polyester or polymer-coated blanks that work seamlessly with sublimation printing techniques.
When selecting sublimation blanks, prioritise items with consistent, smooth surfaces that will provide excellent image transfer. You’ll want to focus on materials that have been specifically designed for dye sublimation printing. These typically include:
- White or light-coloured polyester fabrics
- Polymer-coated ceramics
- Specially treated metal surfaces
- Hardboard and wooden items with polymer coating
- Synthetic fabric products
Each blank requires specific considerations. For ceramics, seek items with uniform white coating to ensure vibrant colour reproduction. Metal blanks should have a smooth, light-coloured polymer layer that allows crisp image transfer. Textile items must contain at least 65% polyester to guarantee optimal ink absorption and colour permanence.
The following table summarises the characteristics and best uses of popular sublimation blank materials:
| Material Type | Key Characteristics | Typical Applications | Suitability for Sublimation |
|---|---|---|---|
| Polyester Fabric | Smooth, highly absorbent | Apparel, flags, home décor | Excellent ink retention |
| Polymer-coated Ceramic | Durable, uniform white coating | Mugs, plates, ornaments | Enables vibrant colours |
| Sublimation Metal | Treated, light-coloured polymer | Signs, nameplates, photo panels | Crisp image clarity |
| Hardboard/Wood | Polymer-coated, rigid surface | Coasters, trophies, placards | Good image definition |
| Synthetic Fabrics | Flexible, easy to shape | Sportswear, bags, accessories | Consistent print quality |
Beyond the blanks themselves, you’ll need professional-grade supplies including a dedicated sublimation printer, specialised sublimation inks, and high-quality transfer papers. These components work together to ensure precise, vivid image reproduction on your chosen substrate.
Pro tip: Always purchase sample blanks from reputable suppliers and conduct test prints to validate compatibility before committing to larger production runs.
Step 2: Prepare artwork and printing equipment
Sublimation printing success hinges on meticulous artwork preparation and precise equipment setup. Your goal is to transform digital designs into stunning, professional-quality custom merchandise through careful technical execution.
Start by using graphic design software to create high-resolution digital artwork optimised for sublimation transfer. These designs must meet specific technical requirements:
- Resolution of minimum 300 DPI
- Compatible file formats (PNG, JPG, TIFF)
- Colour-managed colour profiles
- Designs mirrored horizontally before printing
- Vector or high-quality raster graphics
Prepare your sublimation printer by following key equipment setup steps. Load specialised sublimation inks carefully, ensuring they match your printer model precisely. Conduct thorough printer calibration to guarantee colour accuracy and consistency across different print jobs.
Selecting transfer paper is equally critical. Choose papers specifically designed for sublimation, which will help ensure crisp image transfer and vibrant colour reproduction. Pay close attention to paper weight and coating, as these factors significantly impact final product quality.
Pro tip: Invest in colour calibration tools to maintain consistent print quality and reduce ink waste during your sublimation printing process.
Step 3: Print designs onto sublimation transfer paper
Transferring your carefully crafted digital artwork onto sublimation transfer paper is a critical stage in creating custom merchandise. Understanding the nuanced dye-sublimation printing process ensures professional-quality results that bring your creative vision to life.
Before printing, double-check these essential preparation steps:
- Confirm printer settings are optimised for sublimation
- Select highest print quality mode
- Use colour management profiles
- Verify paper is loaded correctly
- Ensure transfer paper is face-up in printer tray
When printing your design, critical technical considerations come into play. Mirrored printing is mandatory - your artwork must be horizontally flipped to appear correctly after transfer. This prevents text and images from being reversed on your final product.
Pay close attention to ink saturation and drying time. Allow printed transfer paper to dry completely before heat pressing to prevent smudging or colour bleeding. The transfer paper should feel dry to the touch and have crisp, vibrant colours that will translate beautifully onto your chosen substrate.
Pro tip: Keep a test print log documenting printer settings, transfer paper type, and results to quickly replicate successful prints in future production runs.
Step 4: Apply designs to blanks using heat press
Transferring your carefully printed sublimation design requires precision and technical expertise. Understanding the sublimation heat transfer process ensures professional-quality results that transform your digital artwork into permanent, vibrant merchandise.
Prepare your heat press with meticulous attention to detail:
- Set precise temperature settings (350-400°F)
- Choose appropriate time duration (30-210 seconds)
- Select correct pressure level
- Use protective Teflon or silicone sheets
- Position blank substrate correctly
Positioning is critical: Place your blank face-up on the heat press, with the printed transfer paper positioned face-down against the substrate. Secure transfer paper using heat-resistant tape to prevent shifting during the transfer process. This prevents unwanted movement that could distort your design.
Each material requires specific heat press parameters. Ceramic, polyester, and metal blanks have unique temperature and pressure requirements. Monitor the transfer closely, ensuring consistent heat distribution and preventing scorching or uneven colour transfer.
Pro tip: Always conduct test transfers on scrap materials to dial in your exact heat press settings before working on final production pieces.
Step 5: Inspect finished products for quality standards
Ensuring exceptional quality demands systematic and rigorous product inspection. Understanding quality inspection protocols allows you to consistently deliver professional-grade sublimation merchandise.
During product inspection, focus on these critical evaluation criteria:
- Image transfer integrity
- Colour vibrancy and consistency
- Absence of smudging or distortion
- Registration accuracy
- Surface texture and finish
- Overall design alignment
Establish a structured inspection process by implementing detailed visual and functional assessment techniques. Examine each product under consistent lighting conditions, using magnification tools to detect subtle imperfections. Check for:
This table provides a quick reference for quality inspection methods to ensure professional results:
| Inspection Method | Purpose | Tools Used | Typical Outcome |
|---|---|---|---|
| Visual Assessment | Detect minor flaws, misalignments | Magnifying lamp, daylight | Sharp image, clear surface |
| Colour Comparison | Ensure colour uniformity | Colour swatch card, scanner | Consistent saturation |
| Functional Testing | Validate product durability | Handling, gentle stress | Resistant to fading |
| Statistical Sampling | Increase inspection efficiency | Random selection tools | Reliable quality insight |
- Sharp, clear image edges
- Uniform colour saturation
- No visible ink bleeding
- Precise design placement
Statistical sampling methods can help streamline your quality control. Instead of individually checking every single item, develop a robust sampling strategy that provides reliable insights into your production quality while maximising efficiency.
Pro tip: Create a standardised quality checklist with specific pass/fail criteria to ensure consistent, objective product evaluation across all your sublimation production runs.
Elevate Your Custom Merchandise with Quality Sublimation Supplies
Creating flawless custom products through sublimation blanks requires more than just creativity. The article highlights key challenges such as selecting the right polyester and polymer-coated substrates, achieving precise heat press settings, and ensuring vibrant colour transfers without smudging or distortion. These hurdles demand reliable, professional-grade materials and equipment to guarantee consistent, high-quality results every time.
At Subliblanks, we understand the importance of perfectly matched supplies to your sublimation needs. Our extensive range includes premium sublimation blanks designed for optimal ink absorption, specialised sublimation printers and inks to produce sharp, vivid prints, and high-quality transfer papers. By choosing our products, you eliminate guesswork, test runs, and frustration, so you can focus on creating standout merchandise that meets exacting standards.
Ready to transform your sublimation process and achieve flawless transfers with ease?

Explore our full range of sublimation blanks and equipment today at Subliblanks. Get started with no minimum order quantities and professional support that helps you succeed from test print to final product. Take the next step towards perfect custom merchandise now.
Frequently Asked Questions
What types of sublimation blanks should I use for custom merchandise?
Select sublimation blanks made from compatible materials like white or light-coloured polyester fabrics, polymer-coated ceramics, and specially treated metal surfaces. Each type should offer a smooth, consistent surface for optimal image transfer.
How can I prepare my artwork for sublimation printing?
Ensure your design is high-resolution with a minimum of 300 DPI and saved in a compatible file format such as PNG or JPG. Mirror your artwork horizontally before printing to ensure it transfers correctly onto the substrate.
What are the key settings for my sublimation printer before printing?
Set your printer to the highest print quality mode and check that colour management profiles are selected correctly. This ensures optimal ink saturation and colour reproduction for your designs.
How do I set up my heat press for sublimation transfers?
Configure your heat press to a temperature between 350-400°F and adjust time settings between 30-210 seconds depending on the substrate. Always place the printed transfer paper face-down on the blank and secure it with heat-resistant tape for accurate transfer.
What should I look for when inspecting finished sublimation products?
Evaluate the image transfer integrity, colour vibrancy, and absence of smudging or distortion. Document your inspection criteria and use tools like magnifying lamps for thorough quality checks to ensure a professional finish.
How can I conduct quality inspection efficiently for sublimation merchandise?
Implement statistical sampling methods to assess a selection of finished products rather than inspecting every single item. This approach will help streamline your quality control process while maintaining reliable insights into production quality.


