



200 mm Minimum: Fix LightBurn Camera Alignment with Workshop Tips
Run the Lens Calibration wizard first, then LightBurn’s Camera Alignment Wizard with a target pattern at least 200 mm × 200 mm. Use Automatic alignment (AprilTags) when your lighting and contrast are good; switch to Manual crosshair tagging when they’re not. Mount the camera rigidly, work in Absolute Coords mode, and save a separate named profile for every material height you use regularly.
TL;DR:
- Using a wider target pattern and increasing marker spacing improves calibration accuracy by providing more reliable reference points for the software’s calculations.
- Mount the camera rigidly in a top-down position and keep the workspace within focus to avoid misalignment caused by hardware movement or perspective shifts.
- Switching to manual alignment is necessary when automatic detection fails due to poor lighting, glare, or reflective materials, which can cause the software to miss or misidentify tags.
- Always validate the overlay against the real bed and adjust scale or position manually, especially after material height changes, to maintain precise alignment profiles.
- Regularly re-run alignment after physical disturbances or lens recalibration, and keep a dedicated, consistent material sample for testing to ensure stable, predictable results.
Table of Contents
- What do you need to prepare before running LightBurn camera alignment?
- How do you engrave the alignment target pattern correctly?
- Automatic vs manual: which alignment method should you use?
- How do you validate and save a LightBurn camera alignment profile?
- Why does my LightBurn camera alignment keep drifting or failing?
- What advanced tricks improve LightBurn camera alignment accuracy?
- Practitioner notes from SubliBlanks on camera alignment workflows
- When is camera alignment the right tool, and when should you jig instead?
- A discreet alternative if you want dependable materials for testing
- Sources
What do you need to prepare before running LightBurn camera alignment?
Camera alignment fails more often from poor preparation than from software quirks. Get the physical setup right and the wizard does the rest.
Mounting position matters most. An overhead camera centred above the bed gives a consistent view and tends to need re-alignment less often than a lid-mounted unit, simply because lids don’t always close in exactly the same spot twice. If you’re stuck with a lid mount, a physical tether or a fixed stop that forces the lid to rest in one repeatable position will save you from chasing drift every few jobs.
Focus comes next. Most consumer laser cameras have a fixed depth of field, so if your bed can’t be brought fully into focus at once, focus on the middle of the working area rather than the edges. Slightly soft corners are far easier to work with than a blurred centre.
Before touching the wizard, switch LightBurn to Absolute Coords mode. Any other coordinate mode throws the overlay off, and it’s one of the most common reasons alignment looks correct in the preview but wrong on the bed.
For the target material, pick something offering strong contrast under your workshop lighting:
- Light plywood or MDF, which engraves dark and clean
- Anodised aluminium, if you’re aligning for metal jobs
- Painted or coated card stock for quick, disposable test runs
Pro Tip: Keep a dedicated offcut of your go-to material just for alignment tests. Reusing the same board means you already know how it engraves, so any oddity in the overlay is down to the camera, not the material.
How do you engrave the alignment target pattern correctly?
LightBurn’s Camera Alignment Wizard needs a target pattern of at least 200 mm × 200 mm, and going bigger tends to help rather than hurt. The LightBurn documentation confirms 100% scale equals roughly a 200 mm square, but practitioners on the LightBurn forum routinely increase the scale to spread markers further across the bed, which improves the accuracy of the maths LightBurn uses to translate camera pixels into workspace coordinates.
To set it up:
- Open the alignment pattern generator and select Fit Workspace or increase Scale beyond the 200 mm minimum if your bed allows it.
- Choose a feature width that stays crisp at your camera’s resolution, thin lines can blur on lower resolution sensors.
- Set speed and power to leave a dark, clearly defined mark without cutting through or scorching excessively.
- Frame and preview the job before burning to confirm the whole pattern sits within the camera’s field of view.
Wider marker spacing directly improves alignment precision because the wizard is solving a geometry problem, and more spread between reference points gives it a more reliable set of coordinates to calculate from. Once the pattern is burned, don’t nudge the material. Moving it after engraving invalidates every tag position the wizard is about to read.
Automatic vs manual: which alignment method should you use?
Jog the laser head fully out of frame before capturing the image, an arm or gantry sitting over a target tag is a common reason detection fails outright.
Automatic alignment reads AprilTags on your burned pattern and needs at least four to be clearly visible. When detection struggles:
- Improve overhead lighting and remove glare or shadows falling across the bed
- Use LightBurn’s Adjust Camera Image controls to boost contrast or brightness
- Re-check that the whole pattern, all four tags, sits inside the captured frame
If Automatic still detects fewer than four tags, don’t keep retrying the same shot. Switch straight to Manual alignment, where you double-click the centre of each crosshair in numbered order. Zoom in before clicking for tighter precision, and use undo if you misplace a point rather than starting the whole capture again. Manual takes longer but it’s more forgiving of tricky lighting or reflective materials that confuse automatic detection.
How do you validate and save a LightBurn camera alignment profile?
Once the wizard finishes, check the overlay against reality rather than trusting it blindly. Straight edges on your bed or jig should appear straight on screen, and anything that should be a rectangle should still look like one, not a trapezoid. Run a grid pattern under the camera view if you want a sharper visual check.
If the overlay is close but not quite right, fine-tune it manually:
- Adjust Width and Height to correct scale mismatches
- Use X Shift and Y Shift to nudge the whole overlay into position
- Re-check corners after each adjustment rather than only the centre
Save the result as a named alignment profile, and build the material height into the name itself, something like “3mm Plywood” or “Acrylic 6mm” beats a generic label when you’ve got a dozen saved profiles. LightBurn’s Interpolate Alignment Height feature can estimate a working alignment between two saved heights, but for anything beyond a rough placement, load the closest matching profile rather than relying on interpolation. Export your .lbcm files as backups; a corrupted settings file shouldn’t mean redoing every profile from scratch.
Why does my LightBurn camera alignment keep drifting or failing?
Most alignment complaints trace back to one of four causes, and each has a fairly quick fix.
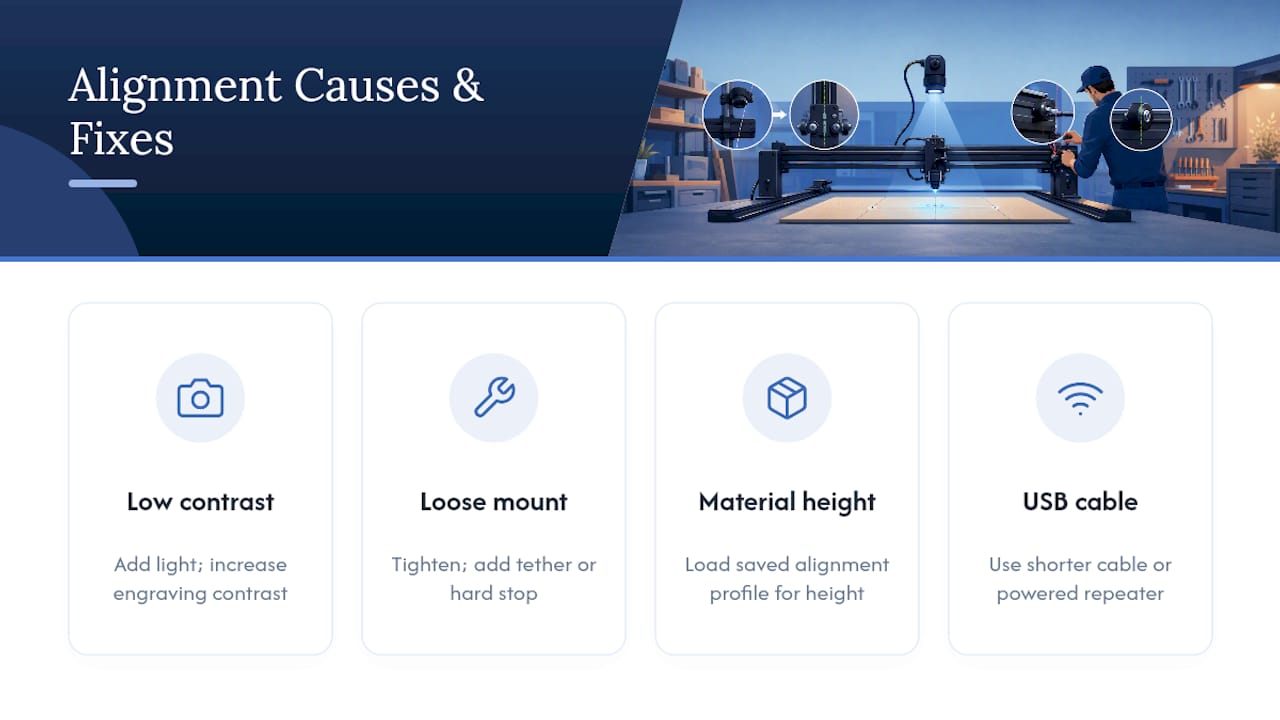
Poor detection or a distorted overlay. Weak lighting and low contrast are the single most frequent cause of failed Automatic Alignment. Add light, boost your engraving contrast, and if the overlay looks warped rather than just misplaced, re-run Lens Calibration before touching alignment again, a distorted lens reading will throw off every alignment built on top of it.
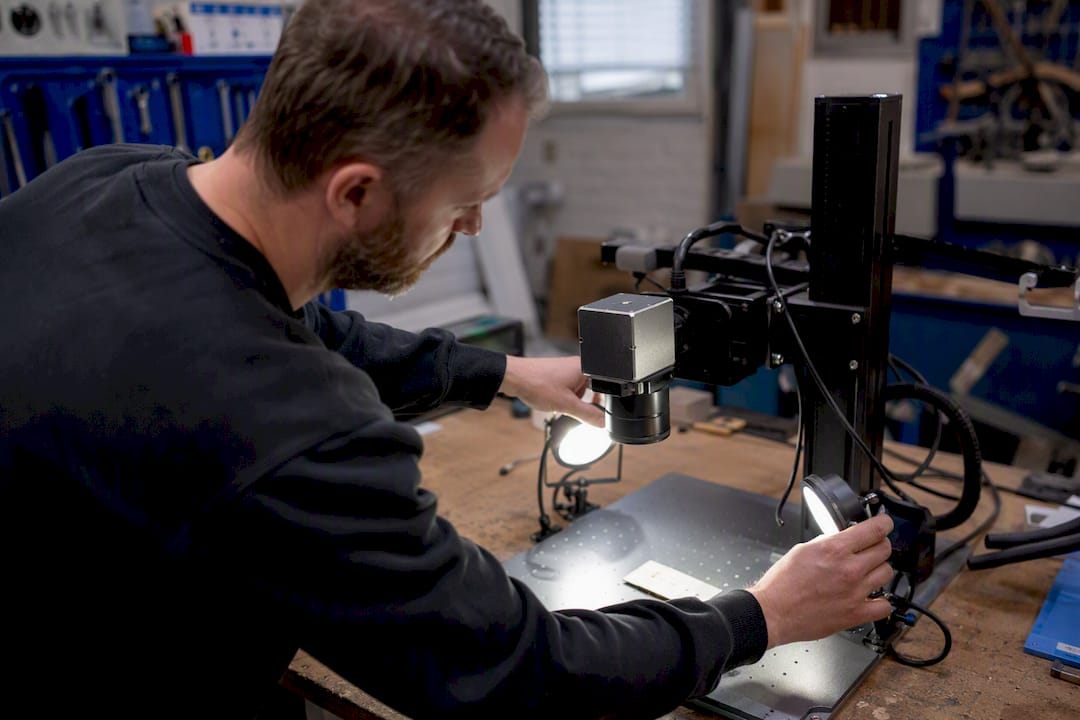
Overlay drift between sessions. Check the mount hasn’t loosened, and if you’re working with a lid mounted camera, confirm the lid returns to the same position every time it closes. A tether or hard stop fixes this permanently rather than requiring a re-align every session.
Misalignment after swapping material thickness. This isn’t a fault, it’s expected. Load the alignment profile saved for that specific height rather than reusing whatever was active last.
Disconnects or frozen camera feed. USB 2.0 cable runs longer than roughly five metres get unreliable. Swap to a shorter run, a powered USB repeater, or a direct connection to the controlling PC.
Pro Tip: If a job that aligned perfectly last week is suddenly off by a few millimetres, check the mount screws before you touch a single software setting. Loose hardware causes more “software bugs” than actual software bugs.
What advanced tricks improve LightBurn camera alignment accuracy?
Spread your target markers as far apart as the workspace allows, this feeds the alignment maths a wider baseline to calculate from, and it’s the single easiest accuracy gain available to most users.
Mounting geometry matters more than people expect. A perpendicular, top-down camera position is far less sensitive to changes in material height than an angled one, since an angled view shifts perspective every time bed height changes. If your setup forces an angled mount, expect to re-align more often and budget the time for it.
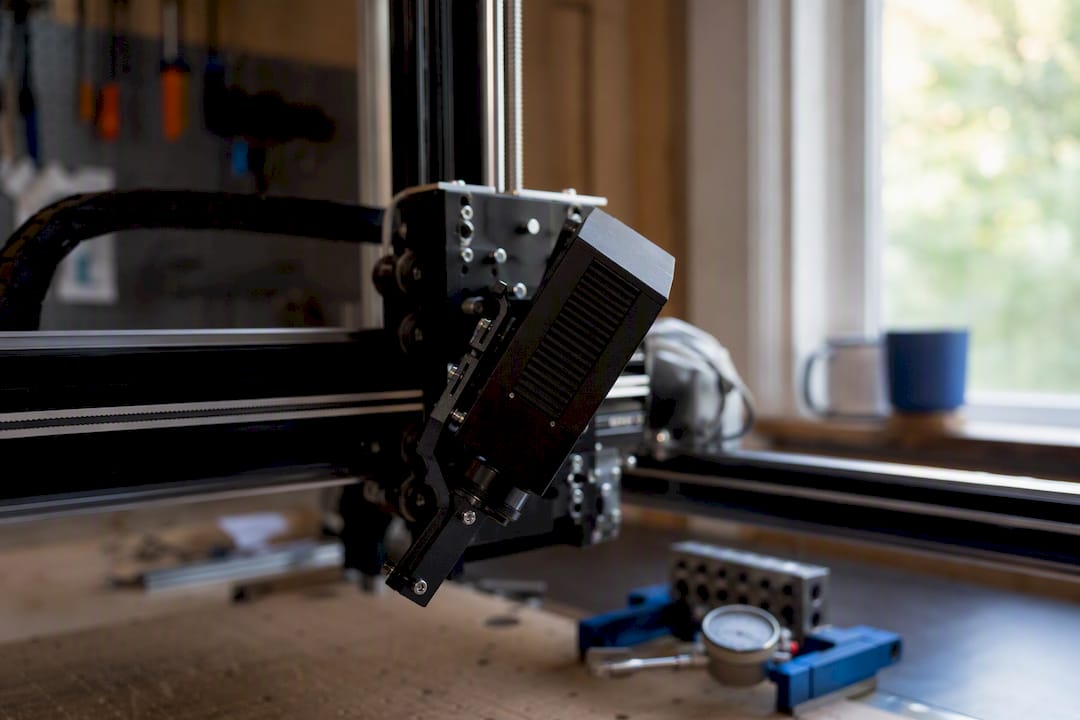
Re-run alignment whenever the camera physically moves, whenever material height changes significantly, or after any lens recalibration. Note your exact mounting position (measurements, not memory) so a knocked camera can be put back precisely rather than guessed at. Multi-camera setups using LightBurn’s Two Zones preset need each zone aligned independently; treat them as separate cameras, not one combined system.
Practitioner notes from SubliBlanks on camera alignment workflows
Before burning any alignment pattern, we run three quick checks: wipe the bed clean of dust and offcuts, confirm focus with a single test line, then burn a small test mark to check contrast before committing to the full pattern. It saves a wasted board and a wasted ten minutes.
For production runs, we name saved profiles by material and thickness together, “Ply3mm”, “Acrylic6mm”, so operators grab the right one without guessing. If you’re new to laser hardware generally, our guide to understanding laser engraver machines covers the bed geometry that camera alignment depends on.
When is camera alignment the right tool, and when should you jig instead?
Camera alignment earns its place for one-off placements, irregular offcuts, and tracing existing artwork, situations where measuring by hand would eat more time than the wizard does. For high-volume repeat runs on identical blanks, though, a physical jig or fence beats re-aligning every batch. The trade-off is honest: alignment costs you a few extra minutes of setup, but jigs cost you a few extra minutes of fabrication upfront. Pick whichever debt you’d rather pay.
— chris
A discreet alternative if you want dependable materials for testing
Alignment accuracy only ever goes as far as the material you burn your target pattern onto. Subliblanks supplies engraving-ready blanks and compatible laser hardware, so you’re testing on stock that behaves the same way every time, rather than whatever scrap happens to be lying around the shop.

For a reliable target pattern, a clean, uncoated sheet with consistent grain gives more even contrast than painted or laminated stock, worth keeping a few spares set aside just for calibration runs. Our laser engravable materials guide runs through which stock burns cleanest for this kind of test work, and if you’re shopping for a compatible machine or fresh blanks to try it on, browse the current range on the Subliblanks homepage.
Sources
For the full official process, see LightBurn’s camera alignment documentation and its troubleshooting guide. For material choice, this guide to laser cutting plastics is a useful outside reference.
- Camera alignment — LightBurn documentation


