



What is stamp making? A crafter's complete guide
TL;DR:
- Stamp making involves creating tools that transfer inked designs onto surfaces using hand carving or laser engraving. Hand carving is affordable and suitable for beginners, while laser engraving offers precision for volume production; both require understanding design principles like mirroring and using vector files. Combining traditional carving with laser methods helps crafters develop better skills and produce high-quality, consistent stamps.
Stamp making is the craft of creating custom tools that transfer inked designs onto surfaces, enabling everything from personalised stationery to professional branding. The process spans two broad approaches: traditional hand carving and modern laser engraving. Both produce stamps capable of repeating a design with consistency, but they differ sharply in cost, precision, and skill requirements. Whether you are a hobbyist decorating gift wrap or an artisan producing branded packaging, understanding stamp making techniques gives you a foundation to choose the right method and materials from the start.
What are the main stamp making techniques?
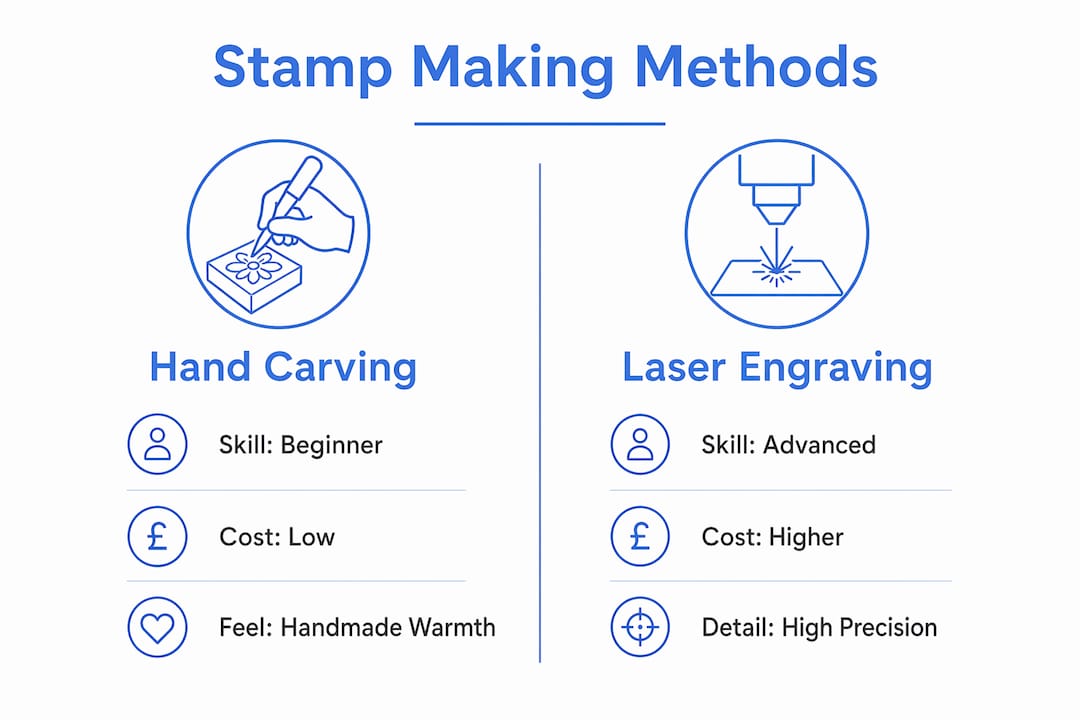
Hand carving is the most accessible entry point into stamp crafting. You draw or transfer a design onto a soft rubber or linoleum block, then cut away the negative space using gouges and knives, leaving a raised image that picks up ink. The initial cost is roughly $18, covering carving blanks and a starter tool kit. That low barrier makes hand carving the natural first step for beginners building foundational skills before moving to automated methods.
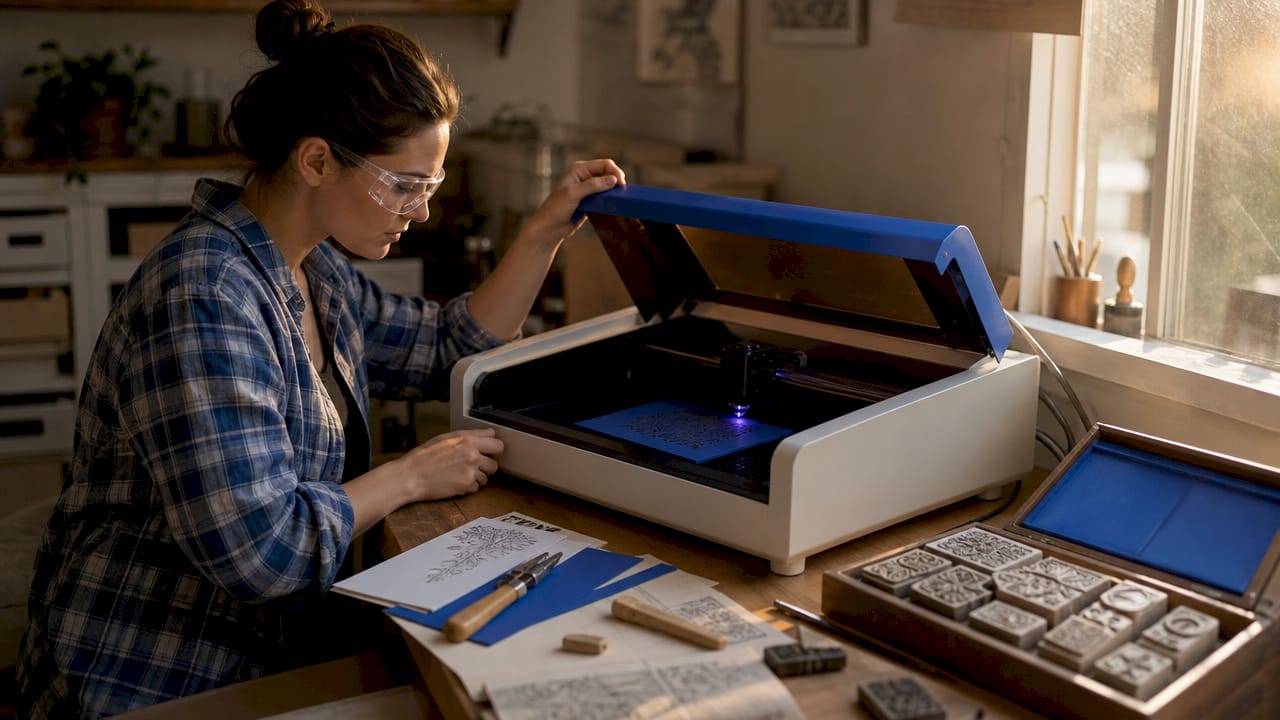
Laser engraving sits at the opposite end of the spectrum. A CO2 or diode laser burns the design directly into rubber or polymer sheet, removing material with far greater speed and accuracy than a hand tool can achieve. The trade-off is equipment cost and a learning curve around software and settings. For small businesses or prolific crafters who need consistent results at volume, the investment pays back quickly.
Other methods exist but are less common for stamp making specifically. Cricut cutting machines can cut foam or thin rubber sheets into stamp shapes, which suits simple geometric or text designs. 3D printing in flexible filament produces raised stamp faces, though surface texture can affect ink transfer quality. Both sit between hand carving and laser engraving in terms of setup cost and output precision.
Comparing the three main approaches
| Method | Skill level | Approx. start cost | Best for |
|---|---|---|---|
| Hand carving | Beginner | Low (approx. $18) | Learning, organic designs |
| Laser engraving | Intermediate | Medium to high | Precision, volume production |
| Cricut / 3D print | Beginner to intermediate | Medium | Geometric shapes, text |
Each method suits a different crafter profile. Hand carving rewards patience and produces a warmth that machine methods rarely replicate. Laser engraving rewards technical setup with speed and repeatability.
What are the essential design principles for stamp making?
Good stamp design starts with the file format. Vector formats such as AI, EPS, and SVG use mathematical paths rather than pixels, so the design scales to any size without distortion. Raster images like JPEGs lose sharpness when enlarged, which causes blurred edges on the final stamp. Always work in a vector application such as Adobe Illustrator or Inkscape when preparing artwork.
Contrast and line weight are equally critical. Stamp designs must be binary, meaning pure black and white with no gradients or shading. Fine lines thinner than 0.5mm risk collapsing during carving or engraving, producing a smeared impression. Bold, clean outlines transfer reliably across paper, fabric, and card.
Mirroring the design before transfer is the single most common mistake beginners make. Forgetting to mirror results in text and asymmetric images printing in reverse. Always flip the artwork horizontally before you transfer it to the block or send it to the laser. Review a digital proof at actual stamp size before committing to cutting or carving.
Key design rules to follow before you start cutting:
- Work at the actual finished stamp size, not a scaled-up version
- Use a minimum line weight of 0.5mm for any detail
- Remove all gradients and convert to flat black and white
- Mirror the design horizontally before transfer
- Save a final proof as a PDF and check it at 100% zoom
Pro Tip: Print your design at actual size on paper and press it against your hand. If the impression reads correctly, the mirror is right. If it reads backwards, flip it again before transferring to the block.
How do you start stamp making at home?
Starting stamp making at home requires only a small set of materials. Soft rubber carving blocks paired with V- and U-shaped gouges are the recommended beginner combination. The soft rubber responds predictably to both gouge types, letting you build muscle memory before attempting harder materials. A sharp craft knife handles fine detail work and straight edges.
Follow these steps to carve your first stamp:
- Prepare your design. Create or print your artwork at actual stamp size, mirrored horizontally.
- Transfer to the block. Place the printed design face-down on the carving block and burnish firmly. Pencil graphite or toner transfers cleanly onto soft rubber.
- Carve the negative space. Use a U-gouge to remove large background areas first, then switch to a V-gouge for detail lines. Always carve away from your fingers.
- Test the impression. Press the carved block onto an ink pad and stamp onto scrap paper. Mark any areas that print unevenly and carve them back further.
- Mount the stamp. Attach the finished rubber to a wooden block using strong adhesive. Mounting on a rigid support produces clearer impressions by distributing pressure evenly across the stamp face.
- Clean and store. Wipe the stamp face with a damp cloth after each use. Store face-up to prevent the rubber from distorting.
Ink choice matters more than most beginners expect. Traditional wood-mounted stamps work with separate ink pads, which means you can switch between dye inks, pigment inks, and specialty inks such as embossing or fabric ink without any modification to the stamp itself. That flexibility is one reason crafters favour hand-carved stamps over self-inking alternatives.
Pro Tip: Keep a sharpening stone beside your work. A blunt gouge tears rubber rather than cutting it cleanly, which produces ragged edges on the finished stamp. Sharpen every 10–15 minutes of active carving.
How does laser engraving improve stamp making?
Laser engraving transforms stamp making for crafters who need volume or fine detail beyond what hand tools can reliably achieve. The laser removes material in a single automated pass, following a digital file with sub-millimetre accuracy. That consistency is impossible to replicate by hand across a production run of 50 or more identical stamps.
Material choice defines the quality of the result. Photopolymer sheet and natural rubber both engrave cleanly with a CO2 laser. Photopolymer produces a harder, more durable stamp face suited to high-volume use. Natural rubber gives a slightly softer impression with a more organic feel, which suits decorative crafting. For guidance on choosing the right substrate, the essential guide to laser engravable blanks covers material properties in detail.
The technical settings matter as much as the material. An engraving depth of 0.5–1mm keeps the stamp face stable and prevents the raised design from bending or collapsing under pressure. Shallower cuts produce fragile relief that wears quickly. Deeper cuts risk undercutting fine lines and weakening the stamp structure.
Laser engraving settings reference
| Parameter | Recommended range | Effect of going outside range |
|---|---|---|
| Engraving depth | 0.5–1mm | Too shallow: fragile relief. Too deep: undercut lines |
| Material | Photopolymer or natural rubber | Foam or acrylic produce poor ink transfer |
| File format | Vector (SVG, AI, EPS) | Raster files cause pixelated edges |
For crafters considering a machine purchase, reviewing stamp making machine types helps match laser power and bed size to the scale of your projects. A hobbyist producing occasional custom stamps needs a very different specification from a small business fulfilling weekly orders.
Key takeaways
Stamp making combines design discipline, material knowledge, and technique choice to produce tools that deliver consistent, repeatable impressions across any surface.
| Point | Details |
|---|---|
| Start with hand carving | Low entry cost and hands-on skill building make it the best foundation for beginners. |
| Mirror designs before transfer | Forgetting to flip artwork horizontally is the most common beginner error and ruins the finished stamp. |
| Use vector file formats | AI, EPS, and SVG files scale without distortion, keeping stamp edges clean at any size. |
| Match engraving depth to material | A depth of 0.5–1mm produces durable, stable relief for laser-engraved stamps. |
| Mount stamps on rigid supports | A wooden block backing distributes pressure evenly and produces clearer, more consistent impressions. |
Why I think beginners underestimate the craft side of stamp making
Most crafters I speak to assume laser engraving is the obvious starting point because the output looks professional immediately. That assumption skips something genuinely valuable. Hand carving teaches you to read a design as a stamp rather than as an image. You learn which lines will hold ink, which details will collapse, and how pressure affects the impression. None of that knowledge transfers from watching a laser do the work.
The practical reality is that a poorly designed file fed into a laser engraver produces a poor stamp, just faster and more expensively than a poorly carved block would. Design discipline matters regardless of the method. Crafters who start with hand carving arrive at laser engraving with a much sharper eye for what works and what does not.
I also think the tactile feedback of carving is underrated as a learning tool. When a gouge catches and tears the rubber, you know immediately that the blade is blunt or the angle is wrong. That direct feedback loop builds skill faster than any tutorial. The graduated approach of starting by hand before moving to automated tools is not just a cost-saving measure. It produces better crafters.
The balance between traditional and technological methods is not a competition. The best stamp makers I know use both, choosing the method that fits the project rather than the one that fits the budget.
— chris
Supplies and equipment for your stamp making projects
Subliblanks supplies everything a crafter needs to move from first stamp to full production, with no minimum order quantities.

From sublimation blanks and equipment to xTool laser engraving machines and laser-engraveable blanks, Subliblanks stocks the materials that support every stage of the stamp making process. Whether you are setting up a home carving station or scaling up with a laser engraver, the range covers beginner essentials and professional-grade equipment alike. The team at Subliblanks understands the practical needs of crafters and artisans, so the product selection reflects real project requirements rather than generic craft supplies. Browse the full catalogue at Subliblanks to find the right materials for your next stamping project.
FAQ
What is stamp making in simple terms?
Stamp making is the process of creating a raised or engraved tool that transfers an inked design onto a surface. Methods include hand carving rubber blocks and laser engraving photopolymer sheet.
How much does it cost to start stamp making at home?
The initial cost for hand carving is approximately $18, covering a carving block and a basic gouge set. Laser engraving requires a higher upfront investment in equipment but reduces per-stamp production time significantly.
What materials do you need for stamp making?
Beginners need soft rubber carving blocks, V- and U-shaped gouges, a craft knife, and an ink pad. Advanced crafters add photopolymer sheet, a laser engraver, and vector design software.
How long do handmade stamps last?
A well-mounted hand-carved rubber stamp lasts for hundreds of impressions with proper care. Self-inking stamps typically last up to 50,000 impressions before requiring re-inking or maintenance.
Do I need to mirror my design before carving?
Yes. The design must be mirrored horizontally before transfer to the block. If you skip this step, text and asymmetric images will print in reverse on the final impression.


