



Button badge sizes: the standard diameters and how to pick one
The most common button badge sizes are 25mm (1"), 32mm (1.25"), 37/38mm (1.5"), 44mm (1.75"), 50mm (2"), 57/58mm (2.25") and 75/77mm (3"). If you only remember one, make it 58mm (2.25"): it’s the default size across most badge presses because it reads clearly from a few feet away, fits a logo plus a short line of text, and works on lapels, bags or lanyards without looking oversized.
Your artwork needs to be bigger than the finished badge, since every press cuts into a bleed area you can’t see once it’s punched.
- 25mm to 32mm: small giveaways, band merch, minimalist logos
- 44mm to 50mm: name badges, retail promotions
- 57mm/58mm: events, campaigns, general merch (the most widely stocked size)
- 75mm/77mm: photo buttons, statement pieces, QR codes
The 2.25" size is treated as the industry’s safe default for exactly this reason: it’s the middle ground where legibility, wearability and production availability all line up. Subliblanks stocks blanks across this full range, so scaling from a test batch to a full run doesn’t mean switching suppliers.
Key Takeaways
The 58mm (2.25") badge is the industry’s safest default because it balances legibility, wearability and universal press compatibility better than any other standard size.
| Point | Details |
|---|---|
| Default size | Choose 57/58mm (2.25") unless you have a specific reason to size up or down. |
| Bleed isn’t optional | Cut size can run 10 to 12mm larger than the finished face, so always use a press-specific template. |
| 57mm equals 58mm | US and UK/EU templates describe the same size family; never mix the two templates. |
| Test before printing | Print A4 templates at 100%, punch one sample, and check against a real object before a full run. |
| Match backs to use | Magnets and mirrors need extra margin; pinbacks are the most flexible, low-profile option. |
| Source blanks in bulk-free batches | Subliblanks stocks badge blanks and machines across all standard sizes with no minimum order quantity. |
Table of Contents
- Button badge sizes chart: mm to inches and real-world comparisons
- Shapes and backs that change your usable design area
- Preparing artwork: templates, bleed and export settings
- How to choose the right badge size for your purpose
- Measuring an existing badge and checking your printer’s scale
- Get badge blanks and templates without minimum order hassles
- Frequently asked questions
- Sources
Button badge sizes chart: mm to inches and real-world comparisons
Here’s the full spread, with the nearest inch name used across the trade and a quick sense of what each size actually looks like pinned to a jacket.
| Size (mm) | Inch equivalent | Roughly the size of… | Typical use |
|---|---|---|---|
| 25mm | 1" | A £1 coin | Band merch, small giveaways, bag pins |
| 32mm | 1.25" | A large button | Conference freebies, minimalist logos |
| 37/38mm | 1.5" | A tealight candle | Fundraising pins, small brand merch |
| 44mm | 1.75" | A compact mirror lid | Name badges, staff ID |
| 50mm | 2" | A digestive biscuit | Retail promotions, subtle statement pieces |
| 57/58mm | 2.25" | A standard coaster centre | Events, campaigns, general-purpose badges |
| 75/77mm | 3" | A drinks coaster | Photo buttons, QR codes, statement pieces |
Beyond the finished diameter, most presses need artwork cut several millimetres wider than the visible face. My Badge Studio’s size chart notes the cut circle can run roughly 10 to 12mm larger than the finished badge depending on the machine, which is why templates matter more than a tape measure alone.
One thing that trips up a lot of first-time buyers: 57mm and 58mm aren’t different sizes. US machines and UK/EU machines both call this the “2.25 inch” family, but they round the metric conversion slightly differently. The two numbers describe the same badge. What actually matters is using the exact template your press expects, because a 57mm template run through a 58mm die (or vice versa) can leave a thin unprinted sliver at the edge, an easy mistake that only shows up after the badge is punched.
Shapes and backs that change your usable design area
Round is the default, but square, rectangular and oval badges are widely available too, and each shape changes how much of your artwork is actually visible once it’s fastened. A square badge in a similar footprint to a 44mm round gives you more usable corner space for text, while ovals and rectangles suit name badges and lanyard tags where width matters more than height.
The back type matters just as much as the shape:
- Pinback: the standard steel pin, works on any fabric, adds negligible thickness
- Safety-pin collet: more secure for children’s wear or loose fabrics
- Magnet: no pin holes, but adds bulk and needs a slightly larger rear clearance
- Mirror or bottle opener backs: functional add-ons that need extra peripheral margin so the mechanism doesn’t crowd the printed face
- Keyring or badge reel: for merch rather than clothing, usually paired with mid-range sizes like 44mm to 58mm
Machine references like American Button Machines’ Button University map specific sizes to the backs and speciality parts they support, which is worth checking before you settle on a size if you want mirrors or openers rather than a plain pin. For more on how backs, shells and mylar fit together, see Subliblanks’ guide to understanding badge components.
Pro Tip: If you’re adding a magnet or mirror back, leave an extra 2 to 3mm of clear margin around your artwork’s edge. Thicker backs can shift the visible face slightly off-centre during assembly, and a tight border makes any misalignment obvious.
Preparing artwork: templates, bleed and export settings
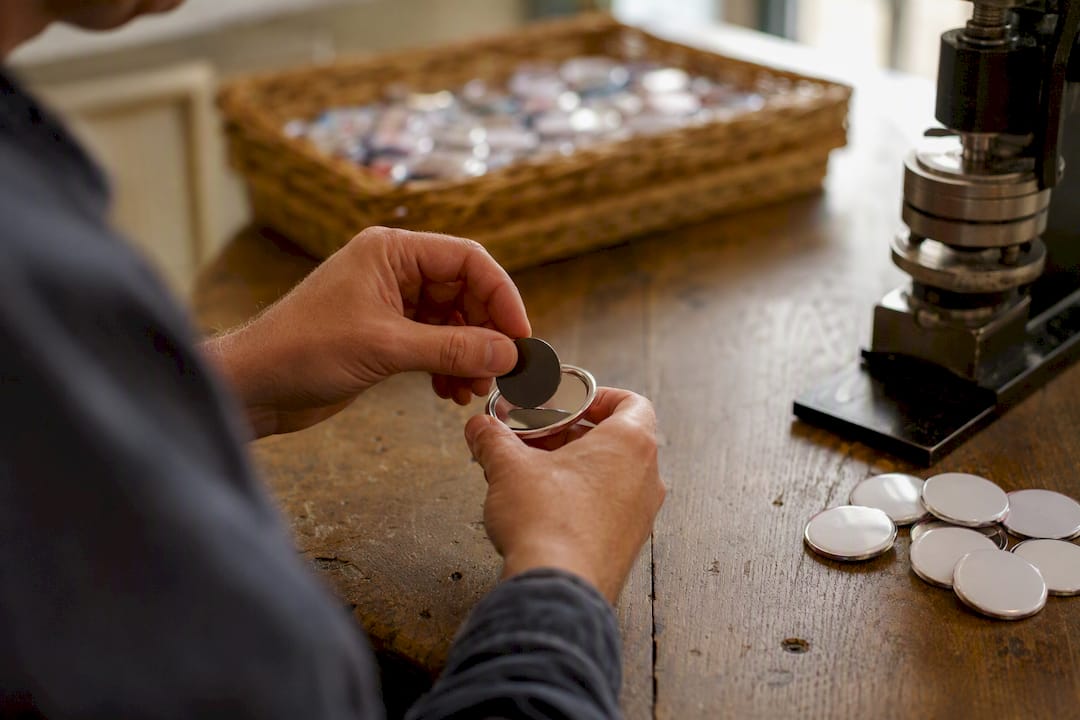
Finished size is what the wearer sees. Cut size is what your printer actually needs, and the two are never the same number. Treat the difference as non-negotiable: Best Badges’ visual guide recommends printing its free A4 template at 100% scale and physically cutting it out before you finalise any design, because screen previews lie about real-world size far more often than people expect.
A working export checklist:
- Download the template that matches your specific press, not a generic size chart
- Set your document to print at 100% scale (never “fit to page”)
- Leave a 3 to 5mm safe margin inside the cut line for any text or logos
- Export as a flattened, high-resolution PDF or PNG in the colour mode your printer specifies
- Punch one physical sample before running a full batch
Subliblanks’ badge-making tutorial walks through the pressing and back-fitting steps if you’re setting up a machine for the first time, and it pairs well with the template checklist above.
Pro Tip: Never trust a screen preview for scale. Print the A4 template, cut out the actual circle, and hold it against the garment or bag you’re pinning it to. It takes two minutes and catches sizing mistakes no software will flag.
How to choose the right badge size for your purpose
Start with distance, not preference. A badge read from three feet away (a name tag, a lapel pin) can stay small. A badge meant to be seen across a room (event signage, a promotional table) needs to go bigger, because text that looks fine on your monitor often disappears at 44mm from six feet away.
Match the size to the job:
- Lapel or quiet giveaways: 25 to 32mm, simple logo or single word
- Name badges: 44mm, enough room for a name and small title
- Event promotion: 57/58mm, the go-to campaign size for a reason
- Photo buttons: 75/77mm, gives faces and fine detail room to breathe
- QR-code prompts: 58mm minimum, 75mm preferred, with the surrounding design kept simple so the code stays scannable
Pairing sizes also works well for merch tables: a small run of 25mm badges alongside a batch of 2.25" badges gives customers a cheap option and a statement option without doubling your production cost.
Pro Tip: If you’re bundling merch for a stall or a launch, order a mixed pack: a run of small badges as a low-cost add-on, plus 58mm as the “main” item. Step up to 3" only when the design genuinely needs the extra space, like a photo or a QR code.
Measuring an existing badge and checking your printer’s scale
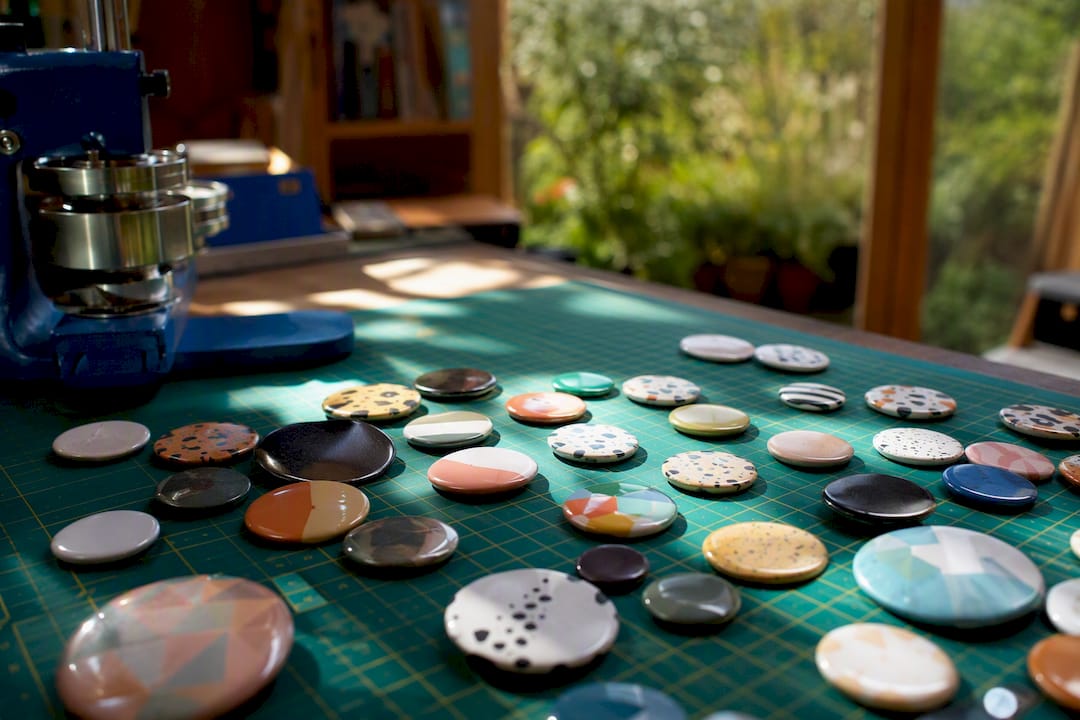
If you’ve got a badge already and need to match it, measure straight across the visible face at its widest point with callipers or a ruler, not around the curved edge. That gives you the finished diameter, which you then match to the nearest standard size on the chart above rather than assuming your press can cut a custom figure.
Before you print any template, run this check:
- Set print scale to exactly 100%, and disable “fit to page” or “shrink to fit”
- Measure the printed cut line with a ruler and confirm it matches the finished diameter you expect
- Punch a single test sample and compare it against a real coin or object before committing to a full run
- Double-check whether you’re working from a 57mm (US) or 58mm (UK/EU) template, since mixing the two is the most common cause of a badly cut edge
If you’re posting finished badges rather than handing them over in person, the same “measure the actual item, then add clearance” logic used for poster tube sizing applies: measure the packed badge, not the packaging box, and size up when you’re close to a size boundary.
Publisher perspective: what trade customers actually order
Most Subliblanks trade customers default to 58mm because it works across the widest range of backs and print styles without a second thought. The single biggest mistake we see is skipping the bleed and using a finished-size template, not a cut-size one.
Get badge blanks and templates without minimum order hassles
Once you’ve settled on a size, the next step is sourcing blanks that actually match your template, not a “close enough” substitute that throws off your bleed measurements. Subliblanks supplies badge blanks across the full standard range, along with badge-making machines, parts and consumables, and there’s no minimum order quantity, so you can test a size before committing to a full production run.

If you’re still deciding on equipment, the badge blanks and machine range covers everything from starter presses to higher-volume setups, and the sublimation printer collection is worth a look if you’re producing your own artwork sheets in house rather than outsourcing print. For a wider file-prep checklist beyond badge-specific bleed rules, Pulse Merch’s guide to common design mistakes in custom apparel covers similar ground on margins and export settings. Head to the Subliblanks site to check current badge blank stock and place a test order at the size that fits your project.
Frequently asked questions
What is the most popular button badge size? The 57/58mm (2.25") badge is the most widely stocked size across UK, EU and US suppliers, and the one most presses are calibrated for by default.
Is 57mm the same as 58mm? Yes. Both describe the same “2.25 inch” badge family; the difference comes from rounding conventions between US and UK/EU manufacturers, not an actual size difference.
Do I need to add bleed to my badge artwork? Yes. Cut size is typically larger than the finished badge, sometimes by 10 to 12mm depending on the press, so your design file needs to extend beyond the visible circle.
What size badge is best for a QR code? Go with 58mm as a minimum and 75mm/3" where possible, keeping the surrounding artwork simple so the code stays easy to scan.
How do I check a template is the right scale before printing a full batch?
Sources
- Button Badge Sizes: A Visual Guide - Best Badges
- Badge Sizes in mm & Inches — Full Chart | My Badge Studio
- What Size Custom Button Should I Order? Complete Button Size Guide
- Pinback Button Sizes
- How to select the right size and thickness for your custom poster tubes — Erdie Industries


