



Badge making tutorial: step-by-step guide for beginners
Making a custom badge with a badge making machine takes under two minutes once you know the process. You need four components: a metal badge base, a printed paper circle, a clear plastic film circle, and a pin or magnet back. Load them in the correct order, press the handle twice, and you have a finished badge. Common sizes include small, medium, and large diameters; pick your machine and blanks to match the badge sizes you plan to make before you start.
The basic assembly sequence:
- Place the metal base face-up in the machine’s front die
- Lay your printed paper circle on top, design facing up
- Cover it with the plastic film circle (film on top, always)
- Press the handle down to crimp the front
- Swap to the back die, insert your pin or magnet back, and press again
Keep your workspace clean and dry. Dust or moisture under the film causes bubbles that ruin the finish.
What materials do you need for badge making?
Getting your materials right before you start saves a lot of frustration. Here is what you need:
- Metal badge blanks: pre-formed circular shells in your chosen diameter. Common sizes include various small to large diameters suitable for different badge-making needs. Your machine must match the blank size exactly.
- Printed paper circles: cut to the correct diameter for your badge size, printed on paper between 120 gsm and 200 gsm for best results.
- Plastic film (mylar) circles: the clear protective layer that sits over your design. Always keep these separate from the paper circles before loading; they stick together easily and cause jams.
- Badge backs: pin backs for clothing, magnet backs for fabric you do not want to pierce. Both slot into the machine’s back die.
- A badge cutter: a dedicated circular cutter matched to your badge size gives clean, consistent edges every time. Scissors work in a pinch but rarely produce a tidy circle.
- Design software: Canva, Adobe Illustrator, or GIMP all work well. Use the correct size template with bleed zones included.
- A stable work surface: the machine needs a firm base to press evenly.
For badge making materials sourced to UK specifications, check that blanks and films are sold as matched sets for your machine series.
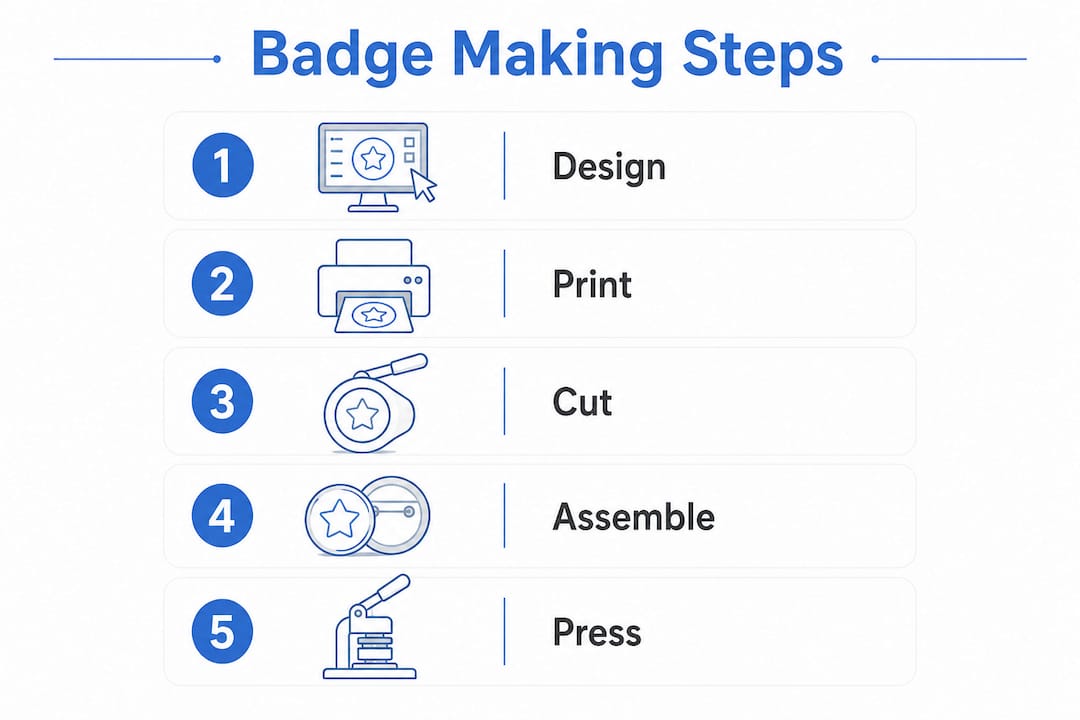
Step-by-step process to create badges using a badge making machine
-
Design your artwork. Build your design at the correct diameter, adding a 2–3 mm bleed around the edge. Save as a high-resolution file before printing.
-
Print your design. Print on paper suitable for badge making, typically standard weight photo or printer paper works well. Standard inkjet or laser output works fine. Let the ink dry fully before cutting.
-
Cut to size. Use a badge cutter matched to your machine. Align the printed circle with the cutter template and press down cleanly. Uneven cuts cause the design to sit off-centre in the finished badge.
-
Separate paper and film. Pull the paper circle and plastic film circle apart before loading. Sticking them together is the most common cause of machine jams.
-
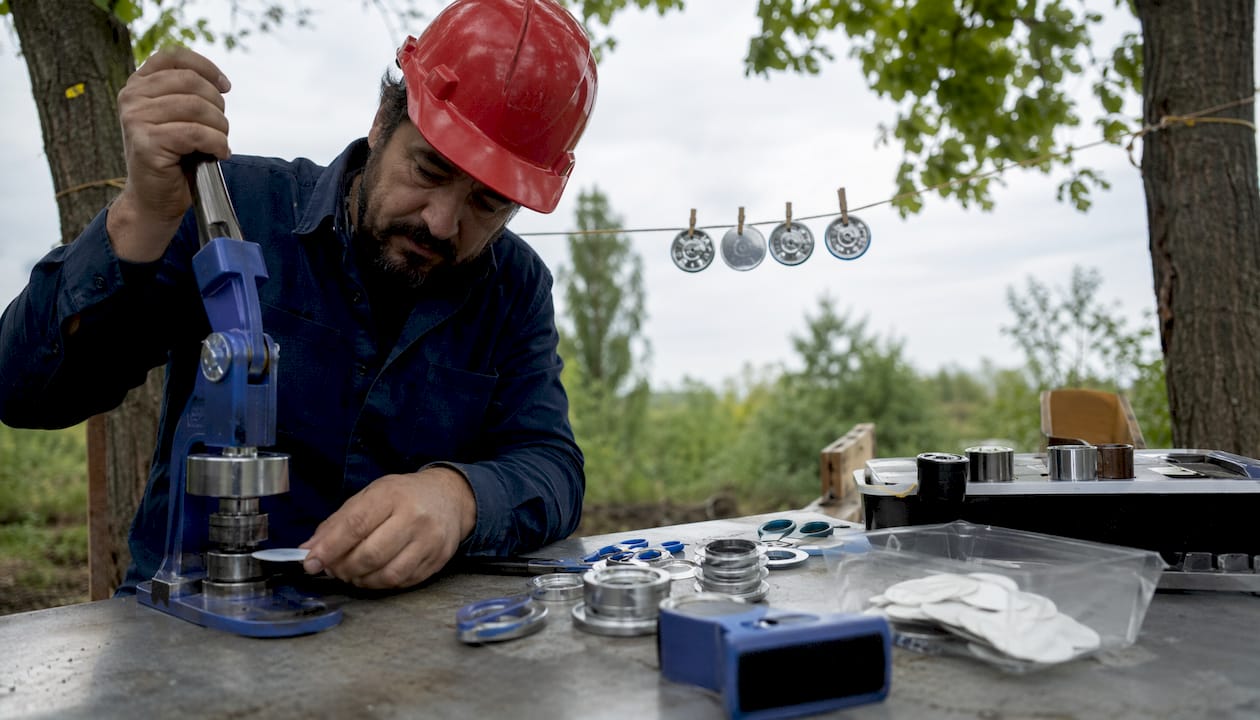
Load the front die (Die 1). Place the metal base into the front die, then lay the paper circle on top with the design facing up. Cover it with the plastic film circle.
-
Press the front section. Pull the handle down until you feel resistance, then return it to the upright position. Do not force it past the resistance point.
-
Load the back die (Die 2). Rotate the machine’s lower plate 180° to bring the back die forward. Insert your pin back (pin side down) or magnet back (magnet side up).
-
Press the back section. Pull the handle fully down until it stops, then lift it. Rotate the base and remove your finished badge.
-
Inspect the result. Check that the design is centred, the film is bubble-free, and the back sits flush. Any wobble in the back usually means the component was not seated correctly in the die.
-
Customise the back if needed. Magnet backs suit corporate lanyards and delicate fabrics. Pin backs are standard for events and casual wear. Both use the same pressing process; only the component changes.
Pro Tip: Always do a test press with a plain paper circle before committing your printed design. It confirms the machine is seated correctly and the die is the right size.
Expert tips on badge design and choosing the right machine
Design quality has more impact on the finished badge than the machine does. A sharp, well-prepared file will look good on a basic press; a blurry or poorly sized file will look poor on any machine.
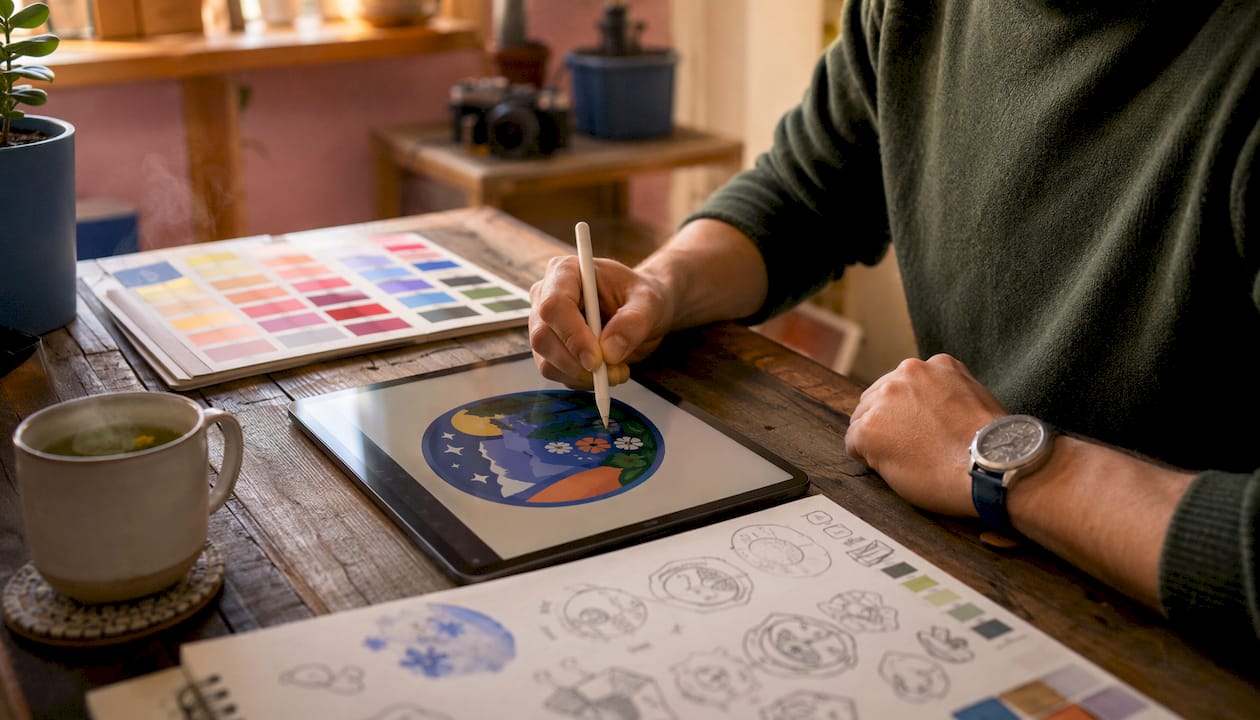
Limit your colour palette to 2–4 colours and avoid intricate line art. At small badge sizes, fine details tend to disappear when scaled down. Bold shapes and strong contrast maintain visibility when scaled down; gradients and thin strokes usually do not.
Test your design at small sizes before printing. Ensure sufficient contrast between text and background to meet accessibility standards and keep text legible. For event badges where names must be read easily, use sans-serif fonts in a size large enough for visibility from a distance.
Choosing a machine comes down to three things:
- Size range: a machine that handles 25–58 mm covers most hobby and event needs. If you regularly make 77 mm badges, confirm the machine supports that die.
- Build quality: a metal-bodied press lasts far longer than a plastic-framed one under regular use.
- Maintenance: wipe dies clean after each session and check for burrs on the metal edges. Regular cleaning and correct loading prevent jams and extend machine life considerably.
For guidance on which press suits your output volume, the Subliblanks badge machine buyer’s guide covers the main options available in the UK in 2026.
Pro Tip: Run a contrast check on your design at 64 × 64 pixels. If the text blurs at that size, it will be unreadable on a small badge.
Get badge making supplies from a trusted UK wholesaler

Subliblanks supplies badge making machines, blank components, and all the accessories you need, with no minimum order quantity. Whether you are making ten badges for a school event or several hundred for a product launch, you can order exactly what you need without committing to bulk quantities; however, for professional manufacturing, cost-effective production typically begins from a minimum quantity around 50 to 100 pieces. The range covers machines in multiple sizes, matched blank sets with pin and magnet backs, badge cutters, and design resources to get you started quickly.
Visit Subliblanks to browse the full range and place an order for UK delivery.
Key takeaways
A badge making machine produces a finished badge in two presses: one for the front, one for the back, using a metal base, printed paper, plastic film, and a pin or magnet back.
| Point | Details |
|---|---|
| Assembly order matters | Paper circle goes under the plastic film, always; reversing them stops the machine working. |
| Separate film from paper first | Film and paper circles stick together in the pack; pulling them apart prevents jams. |
| Match machine to blank size | Badge diameters run from 25 mm to 77 mm; the machine die must match the blank exactly. |
| Design contrast is critical | Limit colours to 2–4 for clarity at small sizes; ensure sufficient contrast to keep text legible. |
| Subliblanks for UK supplies | Subliblanks offers badge machines, blanks, and accessories with no minimum order for UK buyers. |


