


Build an efficient printing workflow: beginner's guide
TL;DR:
- A structured workflow ensures consistent, high-quality print results and minimizes material waste.
- Beginners should focus on mastering one printing technology thoroughly before expanding.
- Proper preparation, equipment configuration, and routine maintenance are key to troubleshooting and success.
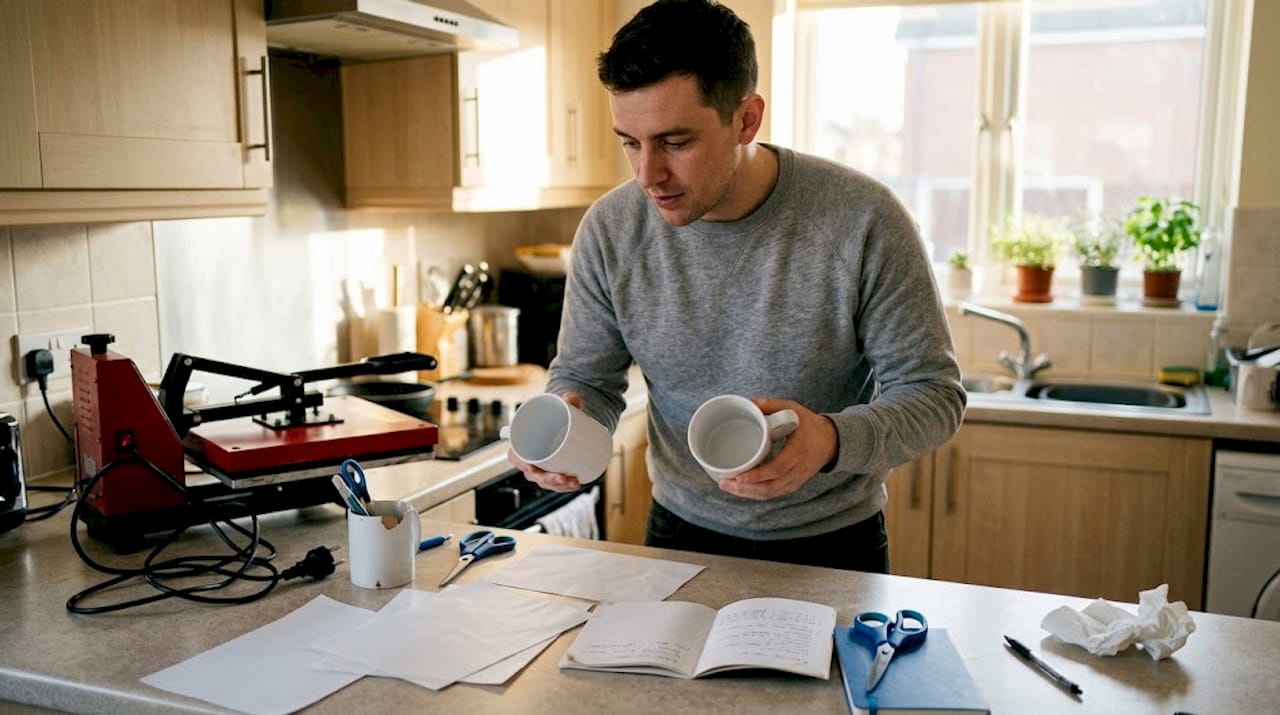
Starting out in printing is exciting, but many beginners hit the same wall early on: a print job goes wrong and there is no clear reason why. Maybe the colours look off, the transfer did not bond properly, or the finished product is simply not what was expected. These problems are almost always caused by a missing step in the process rather than faulty equipment. A structured printing workflow removes the guesswork. It gives you a repeatable path from design to finished product, saving you both materials and money. Whether you are working with sublimation, DTF, or laser engraving, following a clear process makes every job faster and far less frustrating.
Table of Contents
- Understanding the basics of a printing workflow
- Choosing your printing technology and materials
- Step-by-step printing workflow for beginners
- Troubleshooting, tips and common mistakes for new printers
- A smarter approach: why workflow discipline beats expensive kit
- Get the right tools and blanks for your new setup
- Frequently asked questions
Key Takeaways
| Point | Details |
|---|---|
| Define your workflow | Having a clear step-by-step process saves time, reduces errors and helps beginners achieve professional results. |
| Start small with the right tech | Choose a single printing technology and master its materials before expanding your setup. |
| Use checklists to avoid mistakes | Follow a structured list for each print job to prevent common errors and wasted resources. |
| Troubleshoot proactively | Recognise and address typical printing mistakes early to save money and improve output quality. |
Understanding the basics of a printing workflow
A printing workflow is the sequence of steps you follow to take a job from an idea to a finished, physical product. Think of it like a recipe. If you skip a step or use the wrong ingredient, the result suffers. For beginners in the UK and Ireland, having this structure in place early on prevents bad habits from forming and sets you up for consistent results from the very first job.
A clear workflow increases output consistency and reduces errors for printing newcomers. That consistency matters more than people realise when they are just starting out. Every professional print operation, from a local badge maker in Cork to a custom merchandise business in Manchester, follows some version of the same core stages.
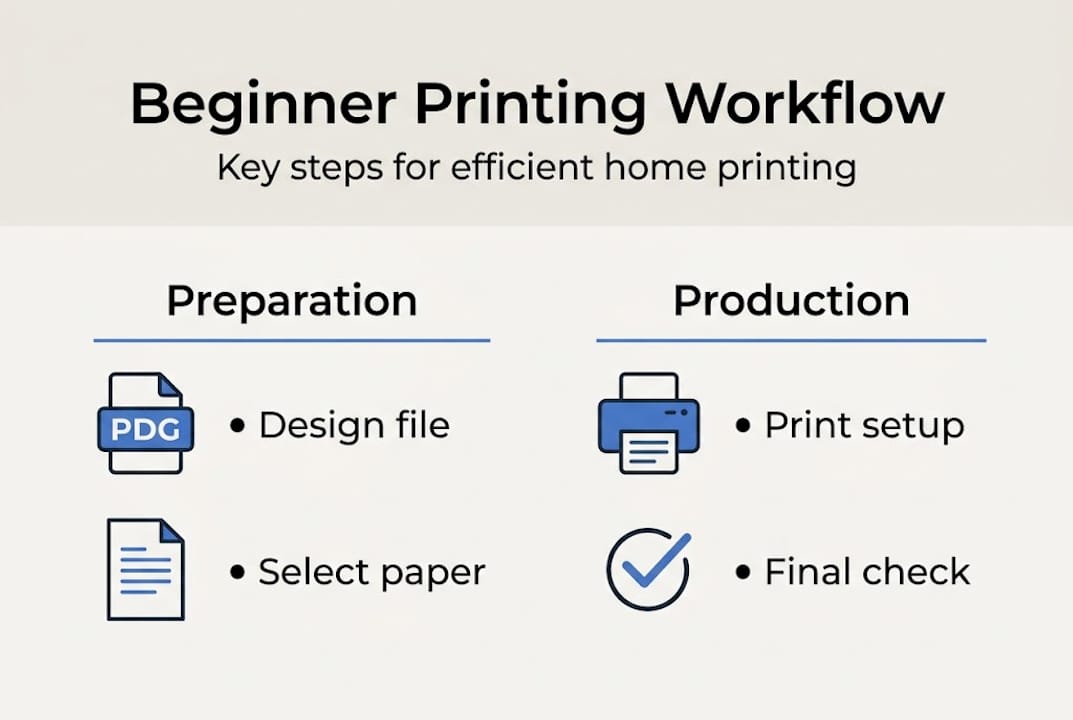
The four core stages found in almost every setup are:
- Design: Creating or preparing your artwork in the correct format, resolution, and colour profile.
- Preparation: Selecting and preparing your blank, paper, or substrate, then configuring your equipment settings.
- Printing: Running the job with the correct time, temperature, and pressure where applicable.
- Finishing: Trimming, pressing, curing, or applying any post-print treatment needed for the final product.
Here is a quick comparison of how structured and unstructured approaches affect your results:
| Approach | Typical result | Material waste | Time spent |
|---|---|---|---|
| No workflow | Inconsistent output | High | Unpredictable |
| Basic workflow | Mostly consistent | Medium | Manageable |
| Full structured workflow | Reliable and repeatable | Low | Efficient |
For those curious about how printing workflow control works at a professional level, the principles are exactly the same whether you are running one machine at home or ten in a workshop. Understanding printing blanks as part of your preparation stage is also a useful early step, as the substrate you choose affects every subsequent decision in the workflow.
Choosing your printing technology and materials
With the basics clear, the next step is selecting the right tools and materials for your work. This is where beginners often feel overwhelmed, because there are several viable technologies to choose from and each one has its own set of materials, quirks, and use cases.
Equipment choice directly influences workflow complexity and outcome, which is why picking the right starting point matters so much. The three most accessible technologies for beginners are sublimation, DTF (direct-to-film), and laser engraving.
| Technology | Best for | Key materials needed |
|---|---|---|
| Sublimation | Mugs, phone cases, polyester garments | Sublimation ink, coated blanks, sublimation paper |
| DTF | Cotton and mixed-fibre garments | DTF film, DTF ink, adhesive powder |
| Laser engraving | Wood, acrylic, leather, metal | Laser-engraveable blanks, protective eyewear |
Here is what you will typically need regardless of which route you choose:
- A compatible printer or machine for your chosen technology
- Appropriate blanks or substrates (polyester-coated items for sublimation, engraveable materials for laser)
- Transfer media such as sublimation paper or DTF film
- Inks, toners, or consumables specific to the technology
- A heat press or similar finishing equipment where required
For those in the UK and Ireland, sourcing from a specialist supplier means you get materials that are already matched for compatibility. Generic or imported alternatives can introduce variables that make troubleshooting far harder than it needs to be.
If you want to explore sublimation printer setup in more detail, or learn more about DTF printing before committing, both are worth reading before you invest in equipment. The wider world of digital printing innovation is moving fast, but beginners benefit most from mastering one technology thoroughly before branching out.
Pro Tip: Pick one technology and stick with it for your first three months. Mastery of a single process builds confidence and gives you a genuine baseline for improving. Spreading yourself across multiple technologies too soon leads to shallow knowledge and expensive trial-and-error.
Step-by-step printing workflow for beginners
Now that you know your tools, here is a step-by-step workflow you can follow for virtually any print job. Breaking the process down into steps makes learning much easier for newcomers, and it also makes it far simpler to identify where something went wrong if a problem does arise.
- Prepare your artwork. Use the correct resolution (at least 300 DPI for print), colour profile (typically sRGB for sublimation), and file format. Confirm dimensions match your blank exactly.
- Check your file. Look for spelling errors, image pixelation, and any clipping at the edges. This is the most commonly skipped step and the one that causes the most waste.
- Select and prepare your materials. Choose the correct blank for your job. Inspect it for damage, dust, or contamination before printing or pressing.
- Configure your equipment. Set the correct temperature, time, and pressure for your technology and substrate. Refer to the supplier’s recommended settings as your starting point.
- Run a test print. On sublimation and DTF, a small test piece on a spare blank saves significant material if something is off.
- Print and apply. Execute the job, following the process closely without improvising mid-way through.
- Finishing and quality check. Inspect the finished piece under good lighting. Check for colour accuracy, adhesion, and alignment before packing or delivering.
Here is how workflow steps differ across the three main technologies:
| Step | Sublimation | DTF | Laser engraving |
|---|---|---|---|
| Design prep | Mirror image required | No mirroring needed | Greyscale or vector preferred |
| Transfer method | Heat press | Heat press with adhesive powder | Direct engraving, no transfer |
| Key check | Colour vibrancy and coverage | Film adhesion and peel | Depth and clarity of engraving |
A useful printer buying checklist can help you verify you have everything in place before your first job. Refer also to workflow basics if you want a broader understanding of how these principles apply across different print environments.
Pro Tip: Print a one-page checklist and keep it pinned beside your workstation. Going through it before every job takes under two minutes and almost entirely eliminates avoidable errors.
Troubleshooting, tips and common mistakes for new printers
Even with a solid workflow, issues can pop up. Let us tackle them proactively rather than reactively.
Many issues in print output stem from skipped checks or poor material selection, which means most problems are preventable rather than inevitable. Knowing what to look for keeps you ahead of the issue before it costs you a blank or a customer.
The most common workflow mistakes beginners make include:
- Using the wrong colour profile in the design file
- Forgetting to mirror the image before sublimation printing
- Pressing at incorrect temperature or for too long or too short a duration
- Using uncoated or incompatible blanks for sublimation
- Not cleaning the heat platen between jobs, causing contamination
- Skipping the test print to save time, then wasting a full blank
Quick fixes for the most frequent issues:
- Poor colour vibrancy: Check ink levels, colour profile, and press temperature. Sublimation requires a polyester-coated surface to work.
- Misalignment: Use heat-resistant tape to secure the transfer before pressing. Take your time positioning before the press closes.
- DTF film not adhering: Confirm adhesive powder was applied evenly and cured fully before pressing.
- Laser engraving too shallow or too deep: Adjust power and speed settings in small increments and test on a scrap piece first.
Important: Always use appropriate protective equipment when operating laser engravers. Never run a laser machine unattended, and ensure your workspace has adequate ventilation. Cutting corners on safety creates risks that no workflow efficiency can offset.
For a full overview of essential printing equipment and what each item does, it is worth reviewing before you purchase your setup. If you are weighing up cost-effective printing options, understanding running costs early helps you plan better. External print quality troubleshooting resources can also be useful when you encounter issues that seem specific to your printer model.
Pro Tip: Set a weekly maintenance reminder for your printer and heat press. Clean printheads, check platen surfaces, and verify calibration. Routine maintenance prevents the vast majority of errors before they happen.
A smarter approach: why workflow discipline beats expensive kit
Here is something the industry does not say loudly enough: the biggest differentiator between beginners who succeed quickly and those who struggle is not the price of their equipment. It is the consistency of their process.
We see this regularly. Someone invests in a high-specification sublimation printer, skips building a proper workflow, and is still producing inconsistent results six months in. Meanwhile, another beginner starts with a modest setup, follows a structured process every single time, and is producing reliable, sellable work within weeks.
Expensive kit does not compensate for missing steps. It amplifies whatever process you already have. If your process is inconsistent, a better machine just produces inconsistent results faster. Discipline in your workflow is what allows you to improve deliberately rather than by accident.
This is particularly relevant if you are using sublimation for textiles, where variables like fabric composition and press pressure interact in ways that only a consistent baseline process can help you diagnose and correct. Build the habit first. Upgrade the hardware later.
Get the right tools and blanks for your new setup
Ready to take the next step? Having the right materials from the start makes your workflow smoother and your results more predictable.

At SubliBlanks Ltd, we supply everything a beginner printer in the UK or Ireland needs to get started properly. From sublimation paper and round name badge blanks to a full range of equipment and consumables, our stock is built around real beginner needs. There are no minimum order quantities, so you can start small and scale up at your own pace. Browse our complete range of wholesale sublimation and laser supplies and speak to our team if you need guidance on where to begin. We are here to make your first print jobs a success.
Frequently asked questions
What is the most beginner-friendly printing technology?
Sublimation printing is generally considered the easiest for beginners due to its straightforward process and accessible starter kits. The learning curve is relatively gentle compared to DTF or laser engraving.
How can I prevent mistakes when starting a new printing job?
Follow a detailed checklist for each job, double-check your materials and printer settings, and run a quick test print whenever possible. This simple habit eliminates the majority of common beginner errors.
Where can I buy beginner printing blanks and supplies in the UK?
You can find a variety of blanks, papers, and starter kits at SubliBlanks Ltd, a UK supplier specialising in blanks and consumables suited to beginner printers across the UK and Ireland.
What is the main cause of poor print quality for beginners?
Poor quality most often results from incorrect material selection or skipped quality checks before printing. Using a compatible, coated blank and following your settings checklist resolves most issues quickly.
Recommended
- Sublimation Printer Setup Guide for Small Businesses – SubliBlanks Ltd
- 7 Top Sublimation Printers 2026 for Print Shops – SubliBlanks Ltd
- How printers boost small business efficiency and marketing – SubliBlanks Ltd
- Sublimation Equipment Setup Guide for Business Success – SubliBlanks Ltd
- Kako pripraviti datoteko za tisk: brez napak do rezultata
- Printeru apkalpošanas ieguvumi: 50% ilgāks laiks Latvijā


