


Sublimation Printer Setup Guide for Small Businesses
Setting up a sublimation printer for the first time can feel like opening the door to a whole new world for small businesses and hobbyists across the UK and Ireland. The right workspace and careful unboxing make all the difference, helping you avoid equipment damage and future troubleshooting headaches. With clear, step-by-step preparation and attention to detail, you can build a foundation for vibrant, professional results and a smoother creative journey.
Table of Contents
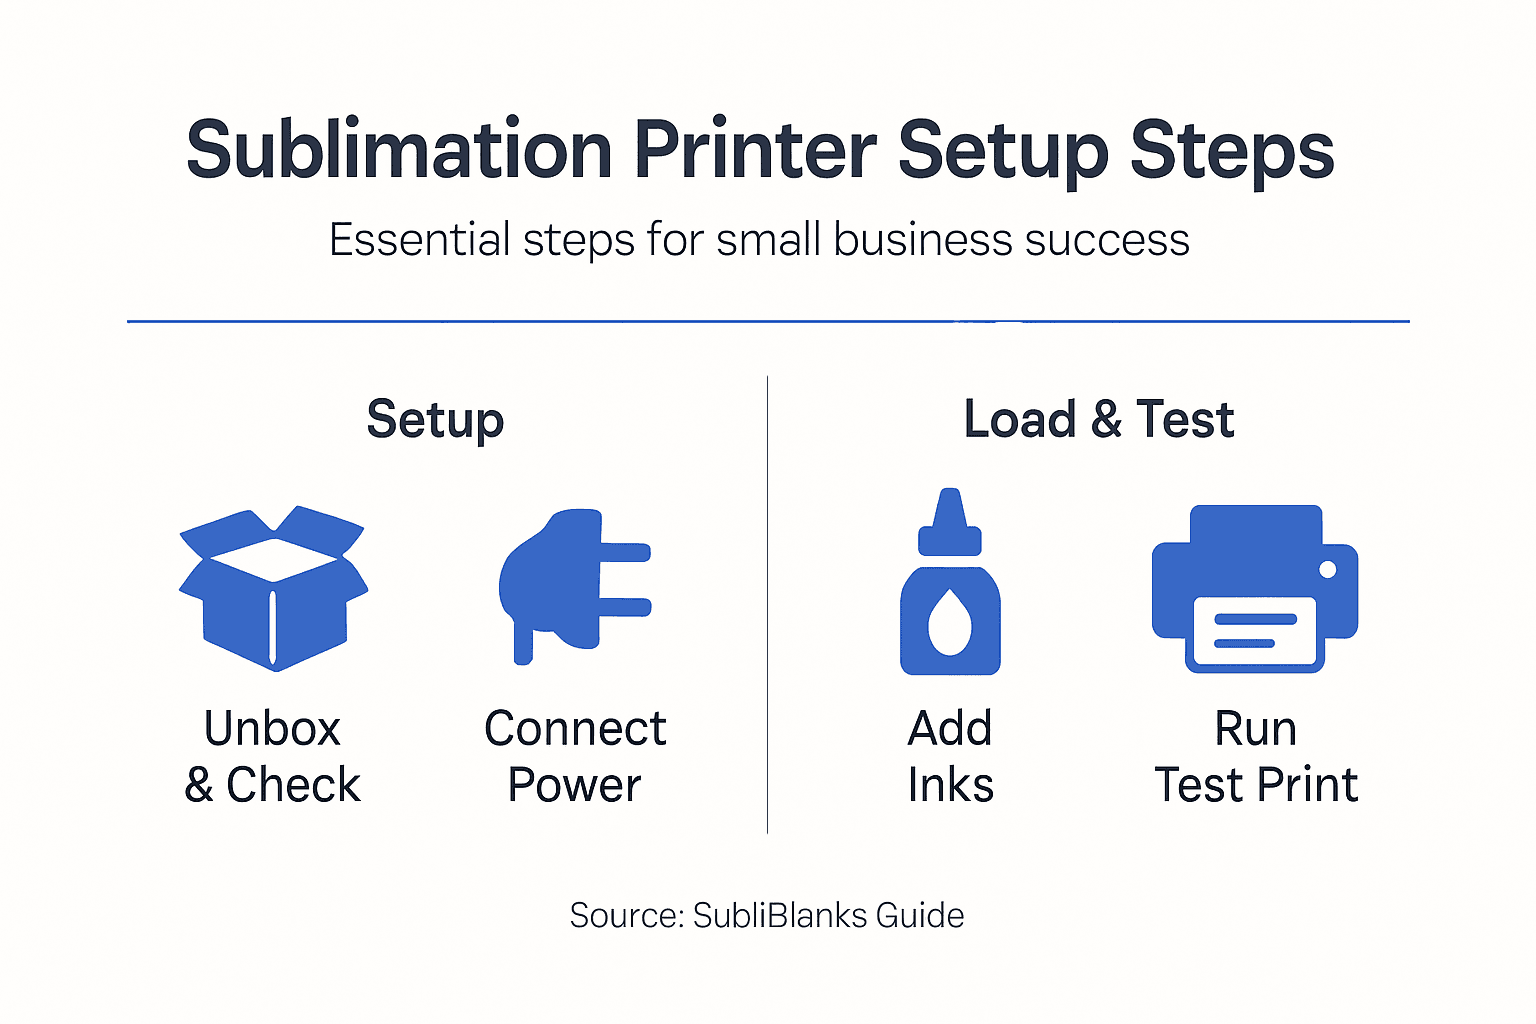
- Step 1: Prepare Workspace And Unbox Printer
- Step 2: Connect Power And Install Drivers
- Step 3: Load Sublimation Inks And Paper
- Step 4: Configure Print Settings For Quality Output
- Step 5: Test Print And Verify Performance
Quick Summary
| Key Point | Explanation |
|---|---|
| 1. Maintain a clean workspace | A dust-free area reduces contamination and ensures a professional output for sublimation prints. |
| 2. Choose the right connection method | Select between USB, Wi-Fi, or Ethernet based on your workspace needs for reliable printing. |
| 3. Use appropriate sublimation inks | Ensure you use dye inks specifically made for sublimation to achieve vibrant prints and protect your printer. |
| 4. Configure print settings correctly | Adjust resolution, media type, and colour management for optimal print quality tailored to sublimation requirements. |
| 5. Perform test prints regularly | Test prints help identify any issues with colour, alignment, or quality before proceeding with final designs. |
Step 1: Prepare workspace and unbox printer
Setting up the right space for your sublimation printer is the foundation of successful printing. A well-prepared workspace prevents damage to equipment, keeps your prints clean, and makes the entire process smoother from day one.
Start by choosing a location that meets these basic requirements:
- Clean, dust-free area away from high-traffic zones
- Flat, level surface that can support the printer’s weight
- Good ventilation to manage ink fumes safely
- Room for power cables and ink bottle placement
- Space to move around comfortably during operation
When you’re ready to unbox, lay out all components on a clean table before assembly. This prevents losing small parts and lets you inspect everything carefully. Most sublimation printers arrive with power cords, installation manuals, and ink bottles already included, though it’s worth checking your specific model’s documentation.
Open the box carefully and remove protective packaging materials. Keep the original box and padding if possible, as you may need them for storage or transport later. Organise each component into groups: the printer itself, cables, ink supplies, and documentation.
Check that all parts match your packing list before proceeding. Look for the power cord, ink bottles or cartridges, any installation guides, and warranty documentation. Missing items now are easier to address than discovering them mid-setup.
A clean, organised workspace prevents dust contamination and makes troubleshooting far easier if issues arise later.
Once everything is accounted for, position your printer on the prepared surface. Make sure it sits level and stable, with at least 15 centimetres of clearance on all sides for ventilation and paper handling. Keep ink bottles, transfer paper, and other supplies within arm’s reach but away from the actual printer.
Here’s a summary of workspace essentials and their impact on sublimation printing success:
| Workspace Feature | Why It Matters | Impact on Results |
|---|---|---|
| Dust-free environment | Prevents debris in prints | Ensures clean, professional output |
| Stable surface | Avoids vibrations or tipping | Reduces misalignment or spills |
| Ventilation | Removes ink fumes safely | Protects health and print quality |
| Easy access to supplies | Speeds up workflow | Minimises handling errors |
| Organised layout | Locates parts quickly | Simplifies troubleshooting |
Pro tip: Before plugging in your printer, photograph all components and your setup area. This visual record helps with troubleshooting and provides proof of condition if you ever need to claim warranty support.
Step 2: Connect power and install drivers
This step connects your printer to electricity and your computer, enabling communication between the two devices. Proper driver installation ensures your printer functions correctly and produces quality sublimation prints.
Start by plugging in the power cord to a standard electrical outlet. Use a dedicated outlet if possible, rather than sharing with multiple devices. Allow the printer a few seconds to initialise after powering on. You’ll typically see indicator lights or a display panel activate, confirming the unit has power.
Next, establish a connection route between your printer and computer. You have three main options:
- USB cable for direct, stable connection
- Wi-Fi for wireless printing across your workshop
- Ethernet for networked setups in larger spaces
USB is the simplest choice for small businesses just starting out. Connect the cable from your printer’s USB port directly to an available USB port on your computer. Wi-Fi offers more flexibility if you plan to move around your workspace or print from multiple devices.
This table compares the three main printer connection options for small businesses:
| Connection Method | Reliability | Flexibility | Best Use Case |
|---|---|---|---|
| USB | Highly stable | Limited mobility | Solo workstation |
| Wi-Fi | Potential interference | Move devices freely | Multi-room/portable setups |
| Ethernet | Consistent and fast | Limited by cabling | Networked business spaces |
Driver installation is crucial because it enables communication between your computer and printer, facilitating print quality and colour management.
Once connected, download the correct drivers from your printer manufacturer’s website. Search for your specific model and operating system (Windows or Mac). Most manufacturers, including Epson for their EcoTank models, offer driver downloads directly from their support pages.
Run the driver installation file and follow the on-screen instructions carefully. The installer typically detects your connected printer automatically. Let it complete the full installation before attempting any test prints. Some setup software configures print preferences essential for sublimation work, so don’t skip any dialogue boxes.
After installation finishes, restart your computer to ensure all drivers load properly. Your printer should now appear in your computer’s list of available devices, ready for the next phase of setup.
Pro tip: Download drivers before plugging in your printer to avoid hardware recognition issues. Having the installation file ready means you can proceed smoothly without hunting for downloads later.
Step 3: Load sublimation inks and paper
This step fills your printer with sublimation inks and prepares it to accept transfer paper. Correct loading ensures vibrant colours and prevents damage to your equipment during the printing process.
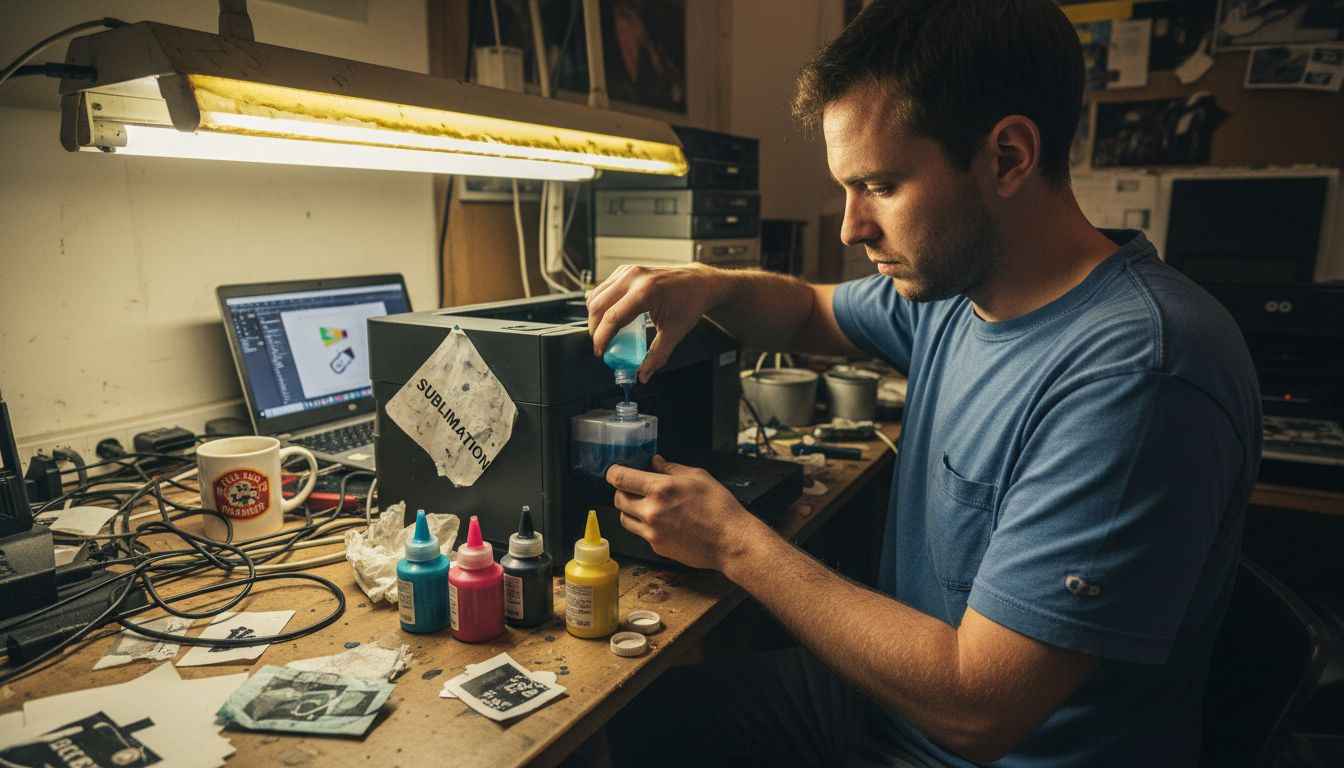
Start by gathering your sublimation ink supplies. You’ll need the specific dye inks formulated for sublimation printing, not standard inkjet inks. If you’re converting an Epson EcoTank model, you’ll receive ink bottles designed for refilling the large reservoirs built into these printers.
Locate the ink access panels on your printer, typically on the side or back. Open them carefully and identify each colour reservoir: cyan, magenta, yellow, and black. Consult your printer’s manual to match the correct ink colour to each tank.
Using syringe or bottle refill methods designed for EcoTank tanks requires care to avoid spilling and contamination. Fill each reservoir slowly, watching the ink level rise. Stop when the ink reaches the maximum line marked inside the tank.
Once inks are loaded, move to the paper tray preparation. Remove the standard paper tray from your printer and examine it for any dust or debris. Clean gently with a lint-free cloth if needed.
Gather your sublimation transfer paper. Check that the paper size matches your printer’s specifications—most common sizes are A4 or A3. Load the paper into the tray with the printable side facing upward, typically the glossy or coated side.
High quality sublimation paper should be loaded, aligning with printer specifications on paper size and type to avoid jams and ensure proper ink adherence.
Stack the paper neatly without overcrowding. Reinsert the tray firmly until it clicks into place. Check that the paper guides along the sides grip the stack snugly, preventing skewing during printing.
Run a test print to verify everything works correctly. Your printer should recognise the new inks and paper without issues. Print a colour test page or small design to confirm ink flow and colour accuracy before moving to production work.
Pro tip: Keep sublimation inks and paper sealed and stored in a cool, dry place away from direct sunlight. Inks can separate and paper can absorb moisture if exposed to humidity, both ruining print quality.
Step 4: Configure print settings for quality output
Optimising your printer’s settings transforms average prints into professional-quality output. Correct configuration ensures vibrant colours, sharp details, and accurate transfers to your sublimation blanks.
Open your printer’s driver settings through your computer’s control panel or printing preferences. You’ll see numerous options, but a few are critical for sublimation success.
Start by adjusting the resolution to at least 300 dots per inch (dpi). This ensures sufficient detail in your printed design. Most quality prints benefit from 300 to 600 dpi, depending on your project complexity and printer capabilities.
Next, select the correct media type. Choose sublimation or photo paper from the dropdown menu, not standard copy paper. This setting tells your printer how to manage ink saturation and drying times for transfer paper.
Locate colour management settings and ensure they match your sublimation ink profile. Print settings configuration is critical for sublimation quality, and using the sublimation ink profile provided with your printer drivers or RIP software produces accurate colours.
Enable mirror image printing. This is essential because sublimation designs transfer in reverse onto your blanks. Without mirroring, text will be backwards and images will be flipped. Check your printer manual to confirm where this setting appears, as it varies by model.
Consider these additional settings:
- Disable colour correction if using RIP software to avoid double-adjusting colours
- Run a nozzle check to ensure print heads are clear
- Execute a calibration routine to maintain print head efficiency
- Set ink density to match your paper type and project requirements
Best practices include setting high resolution, disabling colour correction if using RIP software, and enabling mirror image print settings since designs transfer in reverse.
Before printing your first project, run a test print on regular paper to verify settings. This confirms that mirror imaging works correctly and colours look vibrant. Once satisfied, print on sublimation transfer paper using your configured settings.
Save these settings as a custom profile within your printer software. Name it something like “Sublimation Standard” so you can quickly apply them to future projects without reconfiguring each time.
Pro tip: Create a test chart with different colour saturation levels and keep it in your records. This reference helps you identify when nozzles need cleaning or when settings have drifted, saving troubleshooting time later.
Step 5: Test print and verify performance
A test print reveals whether your setup is working correctly before you commit to production work. This crucial step identifies any issues with colour accuracy, ink flow, or print head alignment that need addressing.
Load a sheet of regular paper into your printer to conserve sublimation transfer paper for actual projects. Select a simple test image with a mix of colours, gradients, and fine details. This reveals how well your printer handles different design elements.
Print the test image using the settings you configured earlier. Watch the printer operate. Listen for any unusual sounds and observe the paper feed. The process should run smoothly without stuttering or jamming.
Examine your test print carefully once it emerges. Look for these common issues:
- Streaking or banding across the print
- Colour mismatches between screen and paper
- Ink bleeding or fuzzy edges on details
- Missing colours or weak saturation
- Uneven ink distribution
After ink and paper setup, performing a test print is essential to verify printer function and colour accuracy. If you notice problems, run a printer cleaning cycle through your driver settings. Most printers offer automatic nozzle cleaning routines that clear blockages.
If streaking persists after cleaning, check your driver settings. Verify that resolution, media type, and colour profile remain correctly configured. Sometimes settings revert unexpectedly, causing quality issues.
Once regular paper prints look good, move to sublimation transfer paper. Print a sample design and, if possible, proceed with heat press transfer. Testing and verifying performance involves printing sample designs on sublimation paper and proceeding with heat press transfer if possible to confirm whether colours are vibrant and details are sharp.
After heat transfer, examine the finished product. Check that colours are vivid, text is sharp, and the transfer adhered evenly to your blank. This confirms your entire workflow functions correctly from printer through to final product.
Regular nozzle checks and driver recalibration maintain consistent performance in your small business environment.
Document your results. Note which settings produced the best output. Keep sample prints showing successful transfers, as these become your reference standard for future quality checks.
Pro tip: Keep a log of test prints with dates and settings used. If you encounter quality issues months later, you’ll have a record of what worked before, making troubleshooting faster and more efficient.
Elevate Your Sublimation Printing Setup with Expert Solutions
Setting up your sublimation printer correctly is essential to avoid costly mistakes and ensure professional results from the start. We understand how crucial it is to have the right workspace, quality sublimation inks, transfer paper, and precise driver configurations as outlined in the “Sublimation Printer Setup Guide for Small Businesses”. Common challenges like ink contamination, print misalignment, and colour accuracy can be frustrating when you want to deliver vibrant, flawless prints to your customers.
At SubliBlanks, we offer a comprehensive range of sublimation equipment and supplies tailored to small businesses that demand reliability and quality. Whether you need high-grade sublimation blanks, inks specially formulated for eco-friendly sublimation printers or accessories to optimise your workflow, we have you covered with no minimum order quantities. Discover solutions that help you maintain clean workspaces, manage ink refills safely and configure your printers for outstanding transfer performance.

Take control of your sublimation printing setup today with confidence. Explore our complete range at SubliBlanks and equip your business with everything needed for flawless results. Get started now and transform your printing challenges into consistent success.
Frequently Asked Questions
How do I prepare my workspace for a sublimation printer?
To prepare your workspace for a sublimation printer, choose a clean, flat, and dust-free area away from high-traffic zones. Ensure there is good ventilation and enough space for power cables and ink bottle placement.
What type of connection should I use for my sublimation printer?
You can connect your sublimation printer using a USB cable for a direct and stable connection, Wi-Fi for wireless printing, or Ethernet for a networked setup. Choose the option that best fits your workspace needs; USB is ideal for individual workstations.
How do I load sublimation inks correctly?
To load sublimation inks, first identify the correct colour reservoirs on your printer and carefully fill each tank with the appropriate dye. Ensure you stop filling when the ink reaches the maximum line marked inside the reservoir to avoid spills.
What settings should I adjust for quality output?
Adjust your printer settings to a resolution of at least 300 dots per inch (dpi) and select sublimation or photo paper as the media type. Also, enable mirror image printing to ensure the design transfers correctly.
Why is it important to perform a test print before starting production?
Conducting a test print helps identify any issues with colour accuracy, ink flow, or print head alignment before committing to your final products. Use regular paper for initial tests, and validate settings to ensure successful outcomes before using sublimation transfer paper.
What should I do if I notice issues with my test print?
If you see issues such as streaking or colour mismatches in your test print, run a printer cleaning cycle to clear any blockages. Additionally, verify your driver settings to ensure they align with the requirements for sublimation printing.


