



DTF cold peel: settings, workflow and when to choose it
Cold peel is a DTF transfer method where you leave the carrier film in place until the transfer has cooled completely, usually 60 to 90 seconds after pressing. Peel only once the garment is cool to the touch.
Choose it when you need crisp edges on fine detail, when you’re printing on mixed or delicate fabrics, or when your shop runs mixed orders without a tight production deadline. The trade-off is time: every sheet needs a cooling window before you can move on, which slows a busy press compared with hot peel, which is faster.
- Best for: fine detail, text, gradients, sensitive fabric blends, small-batch runs
- Main cost: slower throughput per press cycle
- Reward: cleaner edges and stronger wash durability once you add the second press
For most small shops and makers stocking DTF supplies from Subliblanks, cold peel is the safer default. It’s more forgiving of timing mistakes than hot peel, which punishes hesitation.
Key Takeaways
Cold peel DTF works best when cooling time, press temperature and a consistent second press are all treated as non-negotiable steps, not optional extras.
| Point | Details |
|---|---|
| Cool fully before peeling | Wait 60 to 90 seconds until the adhesive solidifies before touching the film. |
| Use the right press settings | Press at 150–160°C for 10–15 seconds, with powder cured at 100–120°C for 60–90 seconds. |
| Never skip the second press | Add a 5 to 10 second press through parchment; it drives wash durability more than peel type. |
| Recover early peels by re-pressing | Lay the film back in place and re-press to reactivate adhesive on partial transfers. |
| Test before bulk buying | Order cold-peel film and supplies from Subliblanks with no minimum order and run a 10-sheet trial first. |
Table of Contents
- The cold peel DTF workflow, step by step
- Cold peel vs hot peel vs instant peel: which one fits your job?
- Choosing cold peel film, powder and storage practice
- Fixing the most common cold peel problems
- Why trust this cold peel guidance
- What actually matters in cold peel, and what doesn’t
- Get the right cold-peel supplies without the guesswork of mixed inventory
- Sources
The cold peel DTF workflow, step by step
Getting consistent results comes down to sequencing, not luck. Miss a step and you’ll spend more time fixing transfers than pressing new ones.
- Print the design onto DTF film using your standard CMYK plus white layer.
- Apply adhesive powder evenly across the wet ink while it’s still tacky, then shake off the excess.
- Cure the powder in an oven or curing unit at roughly 100–120°C for 60–90 seconds, until the powder has melted to a smooth, glossy finish with no visible grains.
- Pre-press the garment for 3–5 seconds to remove moisture and flatten fibres, especially on cotton and fleece where trapped moisture causes bubbling.
- Press the transfer onto the garment at 150–160°C for 10–15 seconds, using firm, even pressure across the whole platen.
- Cool the transfer fully before touching the film. This is the step most beginners rush.
- Peel the film at a shallow 15 to 30 degree angle rather than pulling straight up, which spreads the peel force and stops edges lifting.
- Second press through parchment for 5–10 seconds. This locks the adhesive down and does more for wash durability than anything else in the process.
On cooling: 60 to 90 seconds is the benchmark, but you can speed things up safely by transferring the garment onto a cold metal table or aiming a small desk fan at it. Don’t skip ahead just because the surface feels cool to the touch. The adhesive underneath the print often lags behind the fabric surface temperature by several seconds, which is exactly when premature peels tear the print.
Fabric matters here too. Polyester and poly blends cool fastest and tolerate a slightly shorter wait. Delicate synthetics like nylon or performance wear benefit from a slightly lower press temperature, closer to 150°C, to avoid scorching.
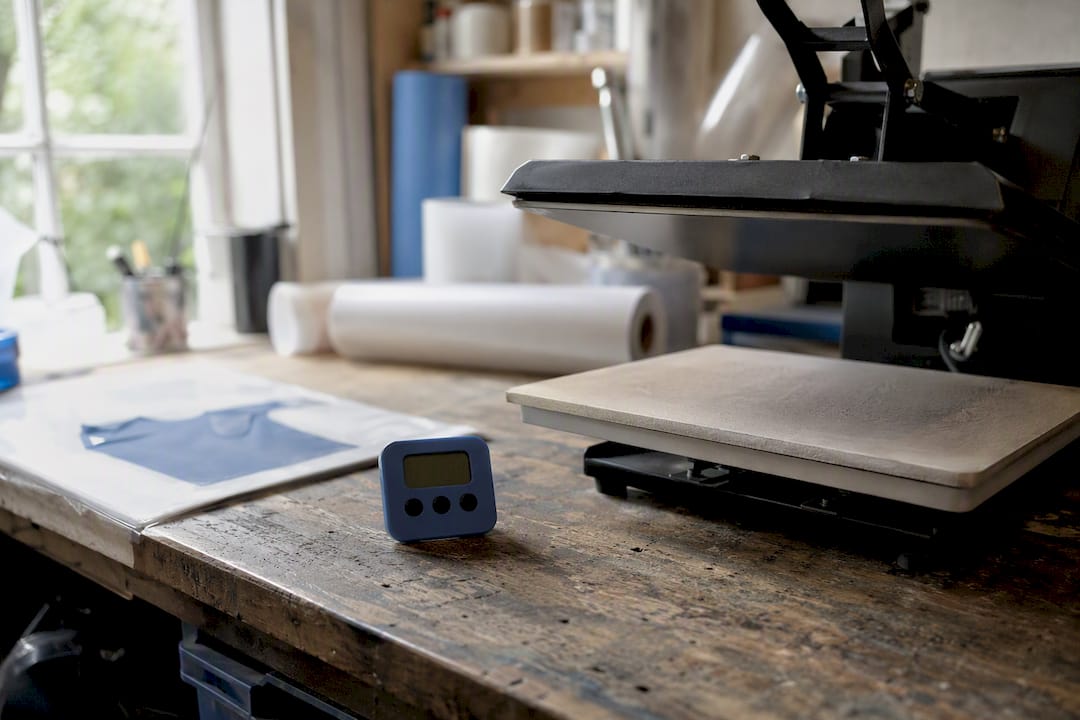
Pro Tip: Keep a kitchen timer or phone stopwatch at the press station. Guessing the cooling window by feel is the single biggest cause of cold-peel failures in shops that skip this step.
Cold peel vs hot peel vs instant peel: which one fits your job?
The three film types solve different problems, and picking the wrong one for the job costs you either time or quality.
- Hot peel is removed immediately after pressing, while the film is still warm. It’s fast, which suits high-volume gang sheets and simple bold designs, but the tighter timing window makes edge lifting more likely on fine detail.
- Instant peel sits between the two, designed to be removed almost immediately with less risk than true hot peel, though it still doesn’t match cold peel’s edge sharpness on intricate artwork.
- Cold peel waits for full cooling and generally gives you better edge definition and stronger wash durability at the cost of production speed.
The durability gap between cold and hot peel narrows considerably once you add a proper second press, which is more impactful for wash durability than peel timing alone. According to research comparing DTF against other printing methods, transfer longevity depends heavily on post-press technique regardless of which film you started with.
If you run a gang-sheet operation with tight order deadlines, hot or instant peel keeps the line moving. If you’re producing detailed art prints, small-batch merchandise, or anything on a fabric you’re unsure about, cold peel is the lower-risk choice. Undecided? Run a 10-sheet trial of each film type before committing to a full roll order. The difference in hand-feel and edge quality shows up immediately on the test sheets.
Choosing cold peel film, powder and storage practice
Not every roll labelled “DTF film” behaves the same way, and mixing up peel types mid-run wastes both film and garments.
Check the packaging or product listing for explicit “cold peel” labelling before buying in bulk. If it’s unmarked, press a small test swatch and try peeling it warm. Cold peel film resists separation while hot; hot peel film comes away easily. That simple test tells you more than any spec sheet.
- Match your powder to your film. Fine-mesh TPU powders generally give the smoothest cure and strongest adhesion on cold-peel film.
- A longer, more complete powder cure improves adhesion regardless of peel type, but it matters most on cold peel because the bond has to survive a longer wait before the second press locks it in.
- Hybrid warm/cold films exist for shops that want flexibility across both peel styles, though they generally trade some peak performance for that versatility.
- Store film flat or properly rolled, away from direct heat and humidity, to avoid curling that causes misfeeds through the printer.
Pro Tip: Label opened rolls with the date and peel type in permanent marker. It sounds basic, but mixed inventory is the number one cause of “wrong settings” mistakes in multi-operator shops.
Before ordering a pallet, run through Subliblanks’ guide to essential DTF supplies for a fuller procurement checklist.
Fixing the most common cold peel problems
Most cold-peel failures trace back to timing or a skipped second press, and nearly all of them are recoverable if you catch them early.
- Peeled too early and the print tore or stuck to the film: if it hasn’t fully separated, carefully lay the film back in its original position and re-press it. The adhesive isn’t permanently cured until the second press, so reactivating it with heat usually completes the transfer.
- Edges lifting or cracking after wash: this almost always means the second press was skipped or too brief. Add a full 5 to 10 second press through parchment and retest.
- Partial adhesion across the design: check for uneven platen pressure or a cold spot on your press. Re-lay and re-press the affected area specifically.
- Used hot-peel film with a cold-peel process (or vice versa): the film type dictates the timing, not the other way round. If you’re getting patchy peels, confirm the roll label before blaming your settings.
- Bottlenecked production line waiting for cooling: stage multiple garments across two or three cooling zones (a metal table, a fan station, ambient air) so the press never sits idle waiting for one piece to cool.
Why trust this cold peel guidance
Subliblanks supplies DTF film, powders, printers and press equipment to trade customers with no minimum order quantity, which means the guidance above reflects what actually happens across a wide range of press models and film batches, not one lab setup.
- Press settings drawn from established industry benchmarks, not a single manufacturer’s marketing copy
- Recovery techniques that work on standard heat presses without specialist equipment
- Practical notes built for shops running mixed order volumes, not just high-volume gang sheets
The second press is the step most beginners cut to save five seconds, and it’s the step that decides whether a transfer survives ten washes or two. If you only fix one habit after reading this, fix that one.
Run a 10-sheet A/B test between your current film and a new batch before switching stock, and log press temperature, cure time and wash results for each. It takes twenty minutes and saves you from a bad pallet order. For more background on sequencing, see the Subliblanks DTF transfer workflow guide.
This piece is written by Chris, drawing on Subliblanks’ product and technical documentation for DTF supplies.
What actually matters in cold peel, and what doesn’t
Most guides treat peel type as the decision that makes or breaks a transfer. It isn’t. The data on wash durability points somewhere else entirely: the second press matters more than whether you peeled hot or cold. Shops obsess over film choice and then skip the one step that actually protects the print.
Here’s where I’d push back on common advice: don’t buy hybrid warm/cold film thinking it solves your indecision. It’s a reasonable option for genuinely mixed workflows, but it’s not a shortcut around learning proper cooling discipline. Beginners who master timing on a straightforward cold-peel film get better results than beginners who buy a “flexible” film and skip the fundamentals.
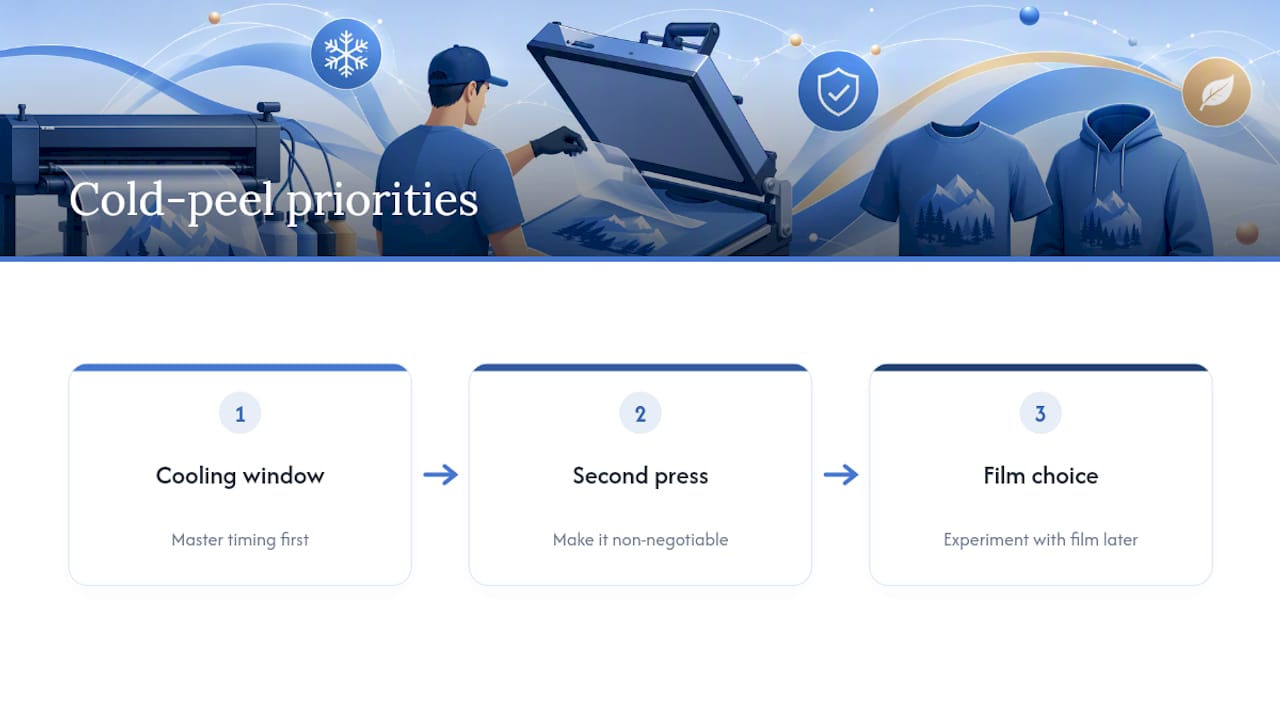
Prioritise this order: nail the cooling window first, make the second press non-negotiable second, and only then start experimenting with film types or gang-sheet speed. Get those two right and your wash-test failures drop dramatically, regardless of which peel style you settle on long term.
— chris
Get the right cold-peel supplies without the guesswork of mixed inventory
Subliblanks supplies DTF film, powders and press equipment to trade customers with no minimum order quantity, so you can test cold-peel, hot-peel and hybrid film side by side without committing to a pallet of stock you haven’t tried.

That matters most for the shops this guide is written for: small operators who need to run a proper 10-sheet trial before locking in a supplier, rather than betting a full order on a film they’ve never pressed. Whether you’re topping up TPU powder, sourcing your next roll of cold-peel film, or looking at a new sublimation printer to expand your setup, ordering direct means no wholesale minimums standing between you and the exact quantity your shop actually needs. Browse the current range on the Subliblanks supply catalogue and place a trial order today.
Sources
- Cold Peel vs Hot Peel in DTF: The Definitive Guide to Choosing the Right Method
- DTF Cold Peel Instructions: Heat Press Temp, Time & Steps
- DTF Film Types Explained: Cold Peel vs Hot Peel vs Instant Peel (2026 – KungFuDTF)
- Are the transfers hot peel or cold peel? How do I remove the film? – DTF Direct
Recommended
- Understanding DTF technology: Key benefits for UK printers – SubliBlanks Ltd
- What does DTF mean? A complete guide to direct-to-film printing – SubliBlanks Ltd
- Essential types of DTF supplies for print businesses 2026 – SubliBlanks Ltd
- Workflow for DTF transfers: a complete 2026 guide – SubliBlanks Ltd


